Compression is a staple of modern music, and is one of the most widely used effects among musicians and engineers.
But what exactly is compression, and how do you use it in your music?
Compression is a process that reduces the volume of loud sounds and/or amplifies the quiet sounds, thus reducing the dynamic range of an audio signal. This is vital in music production as it helps to produce a more consistent and desirable sound.
In other words, you can think of compressors like little robots that automatically turn down the volume of loud sounds, and turn up the volume of quiet sounds to create a more consistent sound.
In many cases, the proper or improper use of compression is the key between an amateur-sounding song, and a professional-sounding one.
What is compression used for in music?
Compression reduces the dynamic range of audio by turning down the volume of loud sounds, and turning up the volume of quiet sounds. But why is this so important in music?
By using compression in music, you ensure that parts of instrument or vocal performances aren't being lost in the mix, and create a more natural and upfront sound.
What does compression sound like? (How to hear compression)
Ever seen someone do a compression tutorial on YouTube, turn some knobs, and then exclaim over what a big difference it makes...
All while you're sitting there thinking..."I can't really hear a difference!"
It's okay, we've all been there, especially when the compression is subtle, or maybe you're not listening on the best speakers.
There are three major ways compression impacts a sound:
- Taming dynamics
- Coloration
- Envelope
Create Pro-Mixes, Faster
Click below to download my free song-finishing checklist to help you create radio-ready songs without taking months to complete them.
1. Taming Dynamics
When a compressor is in use, it will be reducing the dynamic range of a sound. You should hear the loud parts turned down, the quiet parts turned up, and an overall increase in density of the sound.
2. Coloration
Because compressors are physical devices with circuitry, the mere process of a sound signal moving through a compressor will manipulate the tone, vibe, or color of an instrument or voice.
If you're using a digital compressor, you won't have any of this coloration, but if you're using a physical compressor, or a plugin that models a physical compressor, then you'll have some tones added to your sound.
Compressors, like the Manley Variable Mu, provide rich, subtle, low-midrange harmonics that can increase the sense of depth and complexity of a sound.
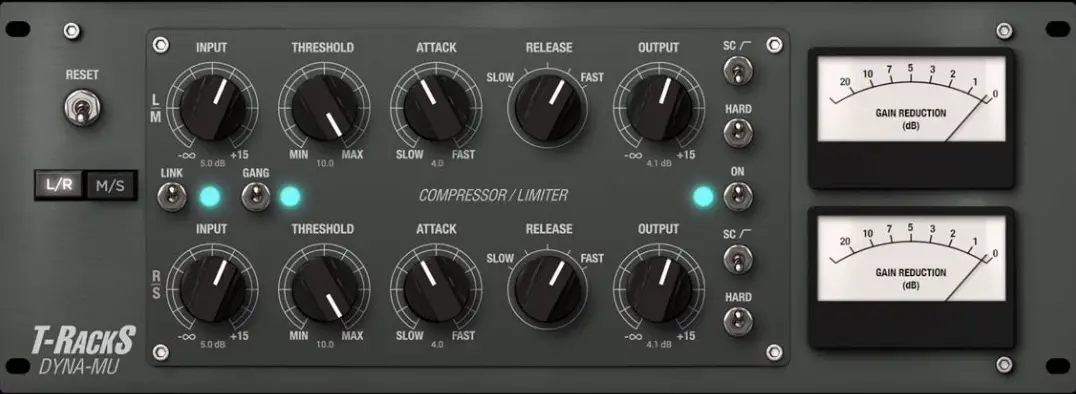
IK Multimedia's Dyna-mu, an emulation of the Manley Variable Mu.
Other compressors, like the 1176, add mid-range and high-frequency harmonic distortion which can add energy or "sizzle" to a track to help it cut through a mix.
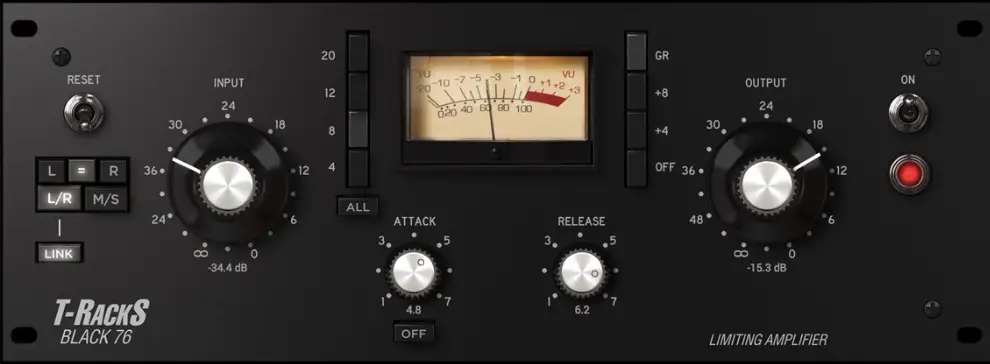
IK Multimedia's Black 76, an emulation of the 1176.
3. Envelope
Finally, a compressor can actually change the envelope (attack, decay, sustain, and release) of a sound.
Compression can add sustain, bring out the tone of natural reverb in the room where the recording took place, and reduce or increase the energy of the attack of a sound.
By listening for these three elements, you can start to hear what compression is doing to your tracks.
Here is a quick example you can look at between an uncompressed bass sound, and that same bass after it's been compressed.
You can even look at the picture of the wave forms below and see how the compressed bass is thicker, and much more consistent.

Uncompressed
Compressed
Why is modern music so compressed?
Modern music is compressed so much today because, in short, it just sounds better.
Compression makes recordings sound fuller and more upfront. It also can make songs appear louder, which to our ears, makes the music seem better.
That said, there was a time during the 1990s and early 2000s (dubbed the "loudness wars") when music was being heavily over-compressed in order to make louder-sounding music.
But with the streaming age, the loudness wars died since these platforms, like Spotify, have built-in ceilings for how loud songs can be. If you go over that threshold, then these platforms will actually turn your music down.
Check out my guide here on how loud your mix and masters should be.
How do compressors work
A compressor is an amplifier whose output gain (dB) reduces as input gain (dB) increases. Low volumes are raised as high volumes are reduced.
When that compressor kicks in, how much the compressor turns down the volume, how fast the compressor turns down that volume, and how fast that compressor returns to not compressing...
These are all parameters you can dial in and set yourself.
Additionally, a compressor whose input source is frequency, not amplitude (volume), is called a "De-Esser".
How To Use A Compressor Properly
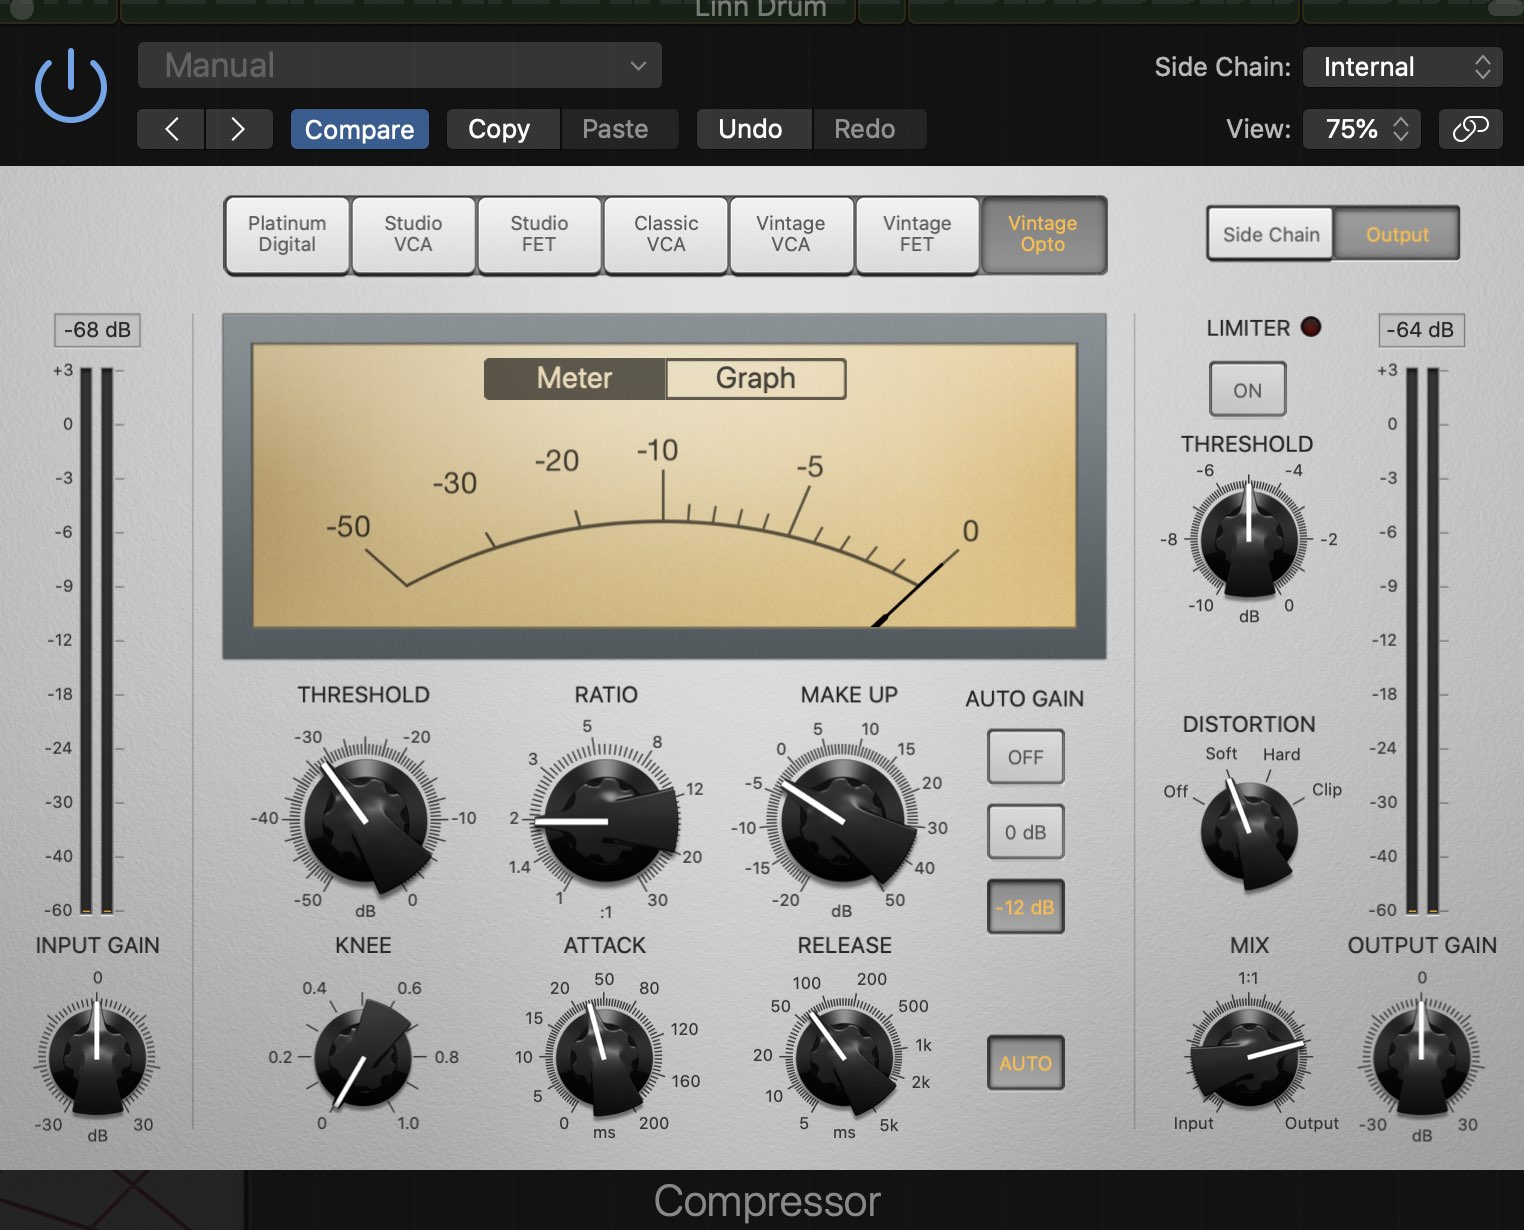
Not enough compression can make your track sound flat and distant, but too much compression can make your track sound squashed and life-less.
The key is to use just enough, and do this by understanding how to use the controls of a compressor.
Threshold
Threshold determines the level at which the compressor will begin to proportionately reduce the incoming signal.
Therefore, the threshold determines when the compressor will start working. Once a sound goes above the threshold, the compressor will kick in and start to compress those sounds that went above the threshold.
Ratio
Ratio determines the amount of a signal (in dB) that's needed to cause a 1 dB increase at the compressor's output.
In simpler terms, the ratio determines how much the volume is reduced by.
For example, with a ratio of 4:1, for every 4 dB of increase at the input, there will be only a 1 dB increase at the output.
If a vocal goes over the threshold by 12dB, then at 4:1 ratio, the sound will be reduced in volume by a factor of 4.
So, instead of getting 12dB louder, the vocal now only gets 3dB louder. Make sense?
Make Up Gain
Make up gain simply allows you to add back in gain that is lost from compression.
When compression is applied, sounds are being reduced in volume, making the overall volume level of your track lower. This isn't what we want.
We want to maintain the volume level to remain about the same as it was before compression, so as you apply compression and turn down the volume of your track, you can use make up gain to compensate.
When you do apply make up gain, you'll actually be turning up the volume of the quieter sounds of that particular performance because it's the louder sounds that are getting turned down.
When this is applied, the result is that your compressor is making your loud sounds quieter, and your quiet sounds louder, producing a more consistent sound overall.
Attack
This setting (calibrated in milliseconds) determines how fast or how slow the device will turn down signals that exceed the threshold.
In other word, once the volume level of a sound goes past the threshold, the Attack determines how fast the compressor will react and turn down that sound.
Release
Similar to the Attack setting, release (also calibrated in milliseconds) determines how slowly or quickly the device will restore a signal to its original level once it has fallen below the threshold point.
For example, if you have a slower release, then even after a sound's level has fallen below the threshold, it will still continue to compress the sound for a period of time.
If you have a fast release, then as soon as the sound falls below the threshold, then the compressor will stop compressing.
Knee
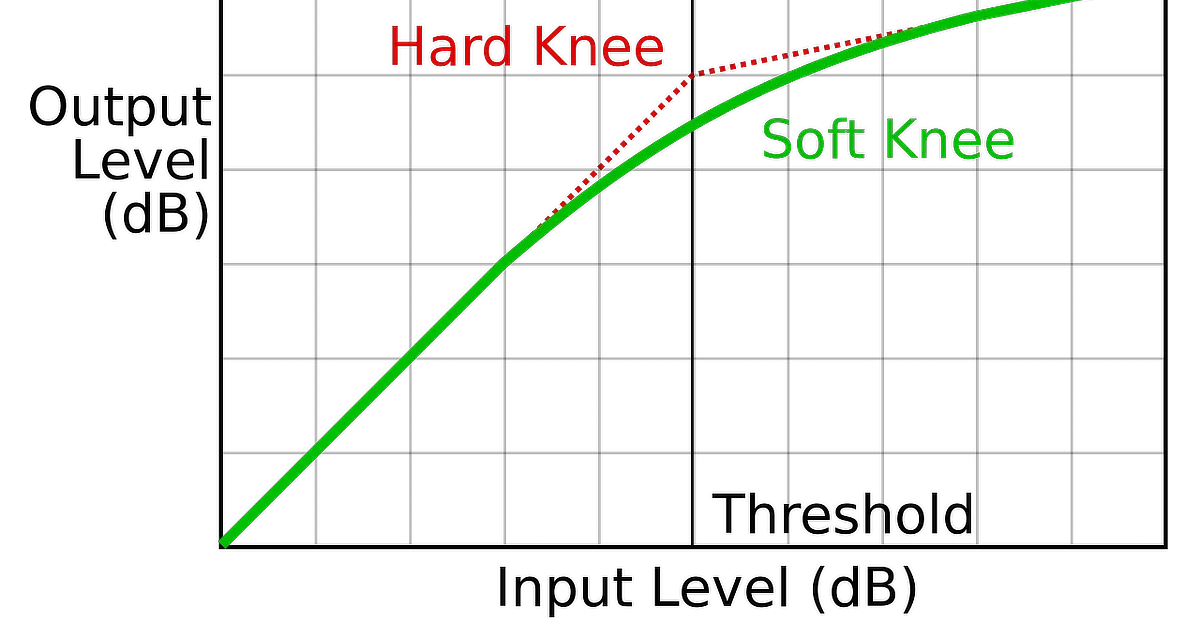
Some compressors will have a "Knee" control, and it is often quantified in terms of "soft", "hard", or somewhere in between. Knee determines how abruptly compression takes place.
With a soft knee, the compressor will introduce volume reduction more gradually, starting with a lower ratio as a starting point before working up the the ratio setting you specified. Alternatively, a hard knee will immediately apply compression at the ratio level you specified (and according to your attack and release settings).
In other words, knee just determines how abruptly or gradually your compression ratio setting kicks in.
With all of these settings now understood, how do we determine when and how to use compression?
1. Is A Sound Overly Dynamic?
Consider if a sound is overly dynamic. Are there parts that stick out and seem too loud, while other parts seem to get lost in the mix?
If so, this is a sound that needs compression.
2. Which parts get too loud or too quiet?
Next we have to determine how to apply compression, and we can do this by considering which parts of the sound tend to get too loud or too quiet.
Is the initial attack (transient) of a sound too loud and punchy? If so, you might want to set a fast attack to tame this.
Is the tail end of a sound getting lost in the mix? Consider a slower attack to bring up these quiet sounds.
Experiment until you find the balance you like.
The Five types of audio compression
Not to make compression sound more complicated, but there are actually five different types of compressors, each of which have different pros and cons.
I'll briefly cover the different types, but if you want a more detailed guide on each of these different types of compressors, then check out my article here.
1. Optical Compression
The response of optical compression is VERY SMOOTH and TRANSPARENT.
Optical Compressor Pros & Cons
Good for:
Not as good for:
2. VCA Compression
VCA compressors are known for being good on transient-heavy material because of their fast response time.
VCA Compressor Pros & Cons
Good for:
Not as good for:
3. FET Compression
FET compression is known for being FAST and AGGRESSIVE while staying transparent enough to create large shifts in dynamics.
FET Compressor Pros & Cons
Good for:
Not as good for:
4. Tube Compression
Tube compressors are great for their pleasant coloration of a sound, but they are not super-fast acting, so don't use them for transient control.
Tube Compressor Pros & Cons
Good for:
Not as good for:
5. Digital Compression
Digital compressors are excellent when you're going for hyper-transparent compression that doesn't change the original color of the sound you're compressing.
Digital Compressor Pros & Cons
Good for:
Not as good for:
5 Pro Producer Compression Techniques
So far we've covered the basics of compression, but there are some advanced techniques you can apply for some pretty spectacular results.
1. Serial Compression
Serial compression simply means using two or more compressors in sequence on a single sound.
Serial compression is great because you're adding compression to an already compressed sound, which allows for more precise compression.
For example, you can use the first compressor just to tame the very loudest sounds, and then come in with a second compressor to smooth out the entire performance.
If you just used one compressor and tried to tame the peaks while also smoothing out the entire performance, you could end up with a very squashed and lifeless sound instead.
2. Parallel Compression
Parallel compression is simply blending a super compressed version of a track with an uncompressed version.
This is an awesome tactic which allows you to add a lot of punch and texture to a particular track.
This can be set up by simply using a send to send a portion of your track to a bus track with heavy compression.
You can check out my video below where I walkthrough how to apply parallel compression to drums.
3. Multiband Compression
Another great compression strategy is the use of multiband compression.
Multiband compression allows you compress different frequency ranges of a sound differently.
For example, you could apply heavier compression to your low end while leaving your top end alone if you wished, or vice versa.
4. "Glue" or Bus Compression
Then there is Bus or "glue" compression which is where you apply compression to a group of tracks all at once through the use of a bus.
For example, you could compress your drums all at once, or even your entire mix as a whole.
By doing this, you can help to glue together your tracks and create a smooth and punchy-sounding mix.
Check out my tutorial here on how to use bus compression to "glue" your song together.
5. Sidechain Compression
Sidechaining is a production technique where one sound is affected or triggered by the output of a different sound. In other words, using one audio source (e.g. kick drum) to trigger a processor (e.g. compressor) on a different audio source (e.g. bass).
Use can use Sidechain compression to "duck" the bass (turn down the volume) every time the kick comes in, so that the two don't clash. This is very common in electronic music.
You can also use sidechain compression to make it so that a delay effect only swells in the gaps between a performance, so as not cloud up a mix.
For example, you can sidechain a delay to a lead vocal so that the delay effect only swells in volume in the gaps between the vocal phrases.
Similarly, you can use sidechain compression to help a lead instrument or vocal cut through a dense mix by subtly turning down the volume of other instruments occupying the same frequency range.
You can learn how to do all of these different sidechaining techniques in my tutorial here.
Finish More Radio-Worthy Songs, Faster!
Compression is just one piece of the puzzle when it comes to producing pro-quality songs.
If you want a proven step-by-step formula for mixing radio-worthy tracks from start-to-finish...
Create Pro-Mixes, Faster
Click below to download my free song-finishing checklist to help you create radio-ready songs without taking months to complete them.
This checklist will walk you through a proven step-by-step mixing and mastering process so that you don't ever have to guess or wonder what to do next.
You'll know exactly what to do, and when, so you can quickly mix, master, and finish more tracks.
I hope you found this post valuable on how to use compression.
If so, feel free to share, and let me know in the comments below…

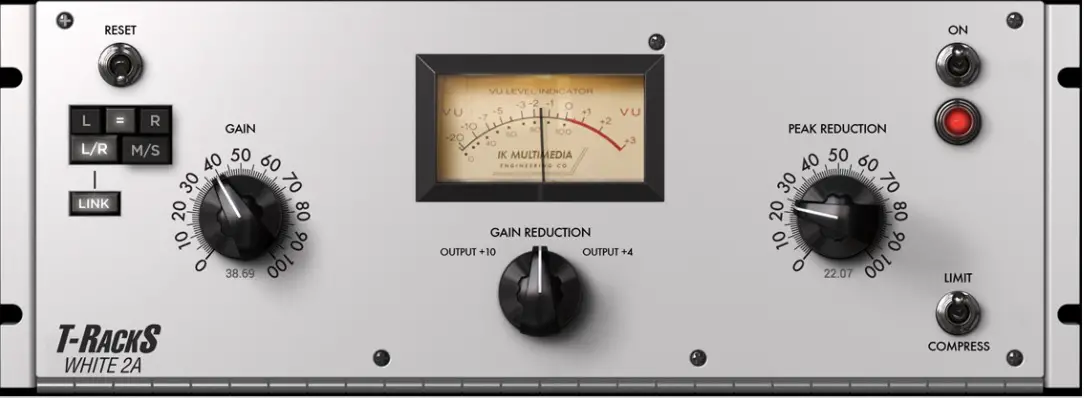
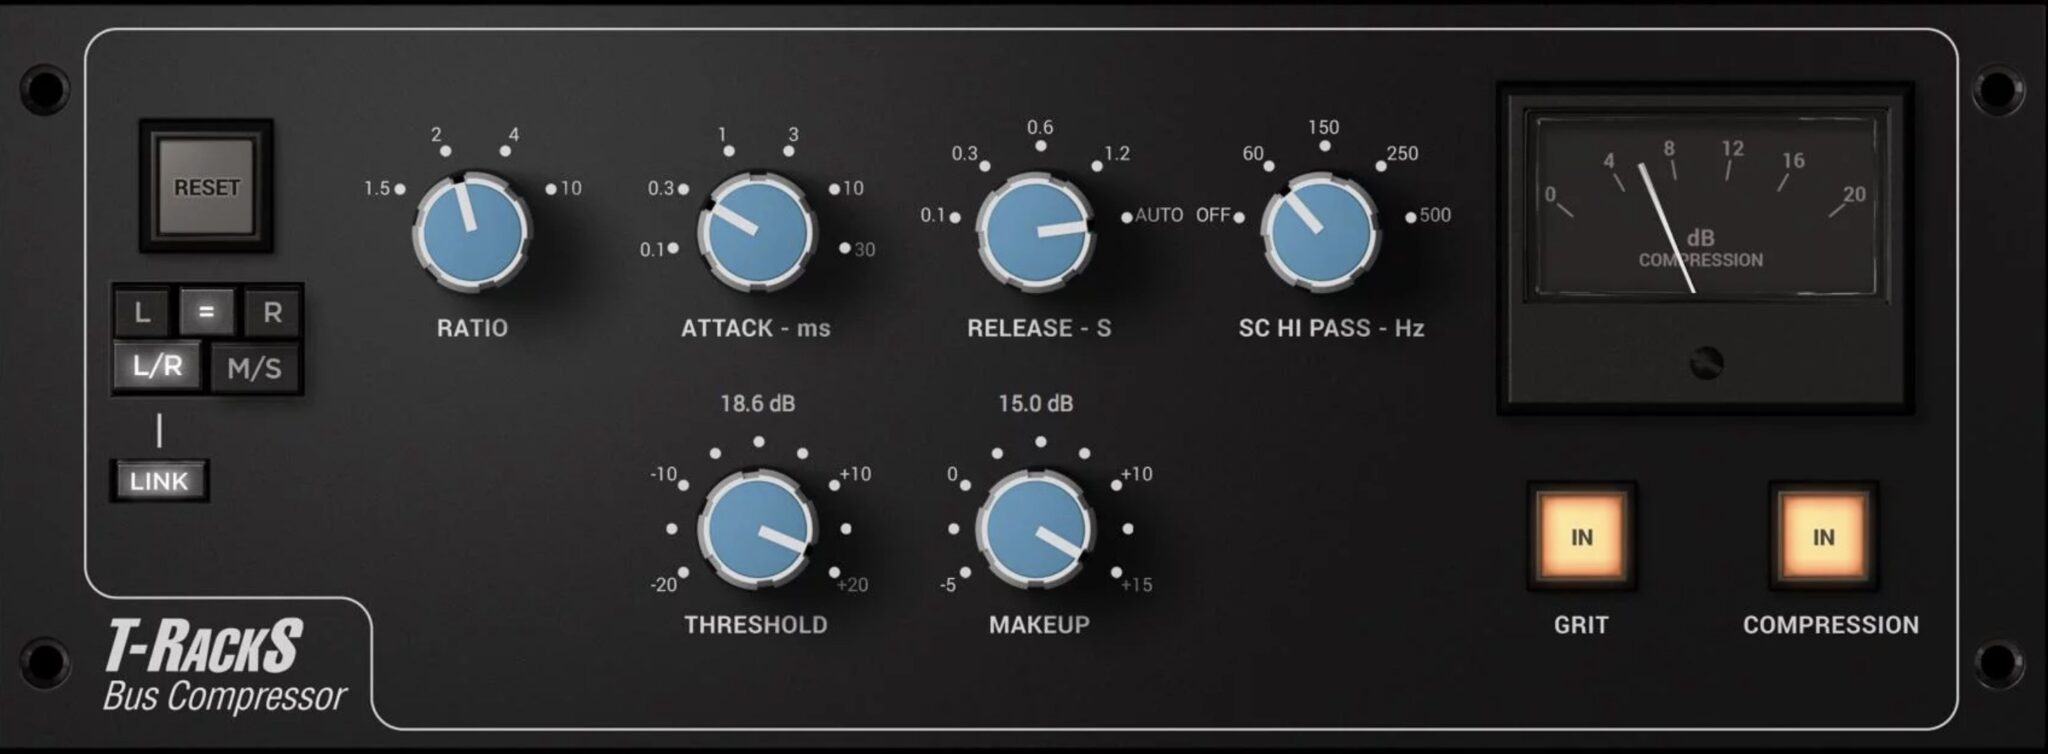
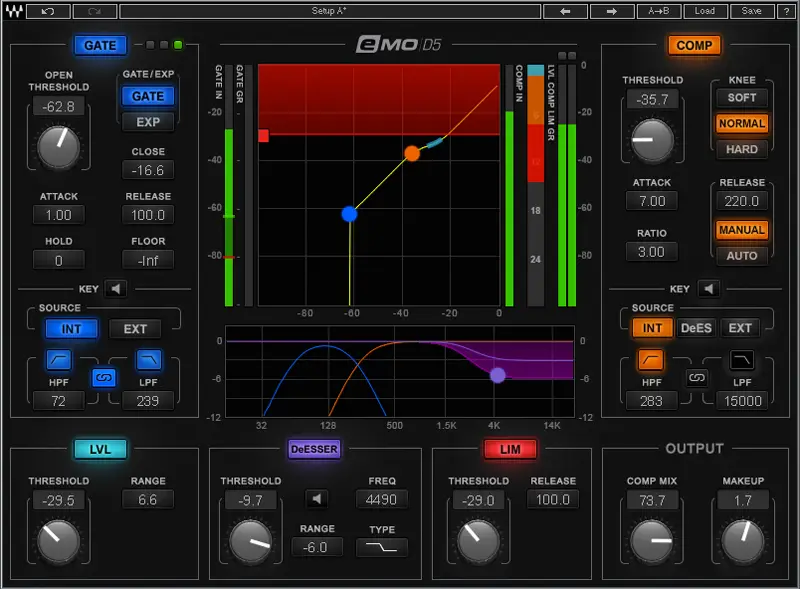
Compression is a poison that kills music.
A musician playing his violin, his guitar or his trumpet has dynamics, he has life but by compressing the sound we make it better for cell phones or televisions and at the same time we reduce its warmth.
Let a cymbal clap resonate where it has to sound!
Let the musicians squeeze and relax!
Let the music sound loose when it has to sound loose!
Stop the tyranny of compression!
Free the musicians!
Certainly, compression can be overdone; however, if it wasn’t for compression, then a lot of music would sound flat, dull, and whole instruments or sections of songs would be lost in the mix, and hard to hear.
That said, some genres don’t really need compression, like orchestral music. But if you’re making modern rock, pop, hip-hop, etc., then compression is certainly important for a professional sound.
Probably the problem is that I don't like that “modern rock, pop, hip-hop, etc.” compressed and normalized to 99.8% of the bandwidth to sound loud in the ceiling speakers of shopping malls and elevators.