
Professional sounding vocals can be the difference between a hit song and one that never makes it off the ground.
If your vocals sound amateur, so will your entire song.
If you're recording in a bedroom home studio, or you don't really know what you're doing when it comes to mixing vocals, then odds are your vocals just aren't going to sound right.
Recording and mixing pro vocals will help you take your tracks to the next level, and this article, I break down how to do just that in this ultimate guide to mixing pro vocals from home.
Create Pro-Mixes, Faster
Click below to download my free song-finishing checklist to help you create radio-ready songs without taking months to complete them.
1. Recording & Vocal Comping

Recording
Anyone who's ever tried to record their own voice knows that it's not as easy as it looks.
Even with the best microphone and pop filter, there's always the risk of capturing unwanted sounds like breaths, paper rustling, or background noise.
And if you're recording in a less-than-ideal space, you might find yourself fighting reverb and echo, struggling to achieve a clear sound.
The good news is that there are a few simple tips that can help you capture a great recording.
First, make sure you're recording in a quiet room with minimal echo. You can reduce echo by throwing some blankets or pillows on the hard surfaces in the room.
Second, use a mic shield to reduce the risk of picking up unwanted sounds.
Third, be aware of your distance from the microphone - the closer you are, the higher the risk of clipping and the more bass there will be in the vocal.
Finally, make sure your gain staging is set correctly to avoid distorting your sound.
If you want my complete guide on how to record pro vocals in an untreated room...
Complete with instructions on how close to stand to the mic, where to place the mic, and more, then click here.
Vocal Comping
Vocal comping is the process of combining multiple vocal takes into one "supertake" that has the best parts of each individual take.
This is called the "composite track" or "comp" or short.
Comping is the standard process for creating professional vocals, so you should make sure to record multiple takes of each section of your song, and then combine the best parts into one "super" take.
You can check out my video tutorial here for a complete guide on how many vocal takes you should be recording, and how to go about comping them.
2. Clean Up Noise & Other Issues
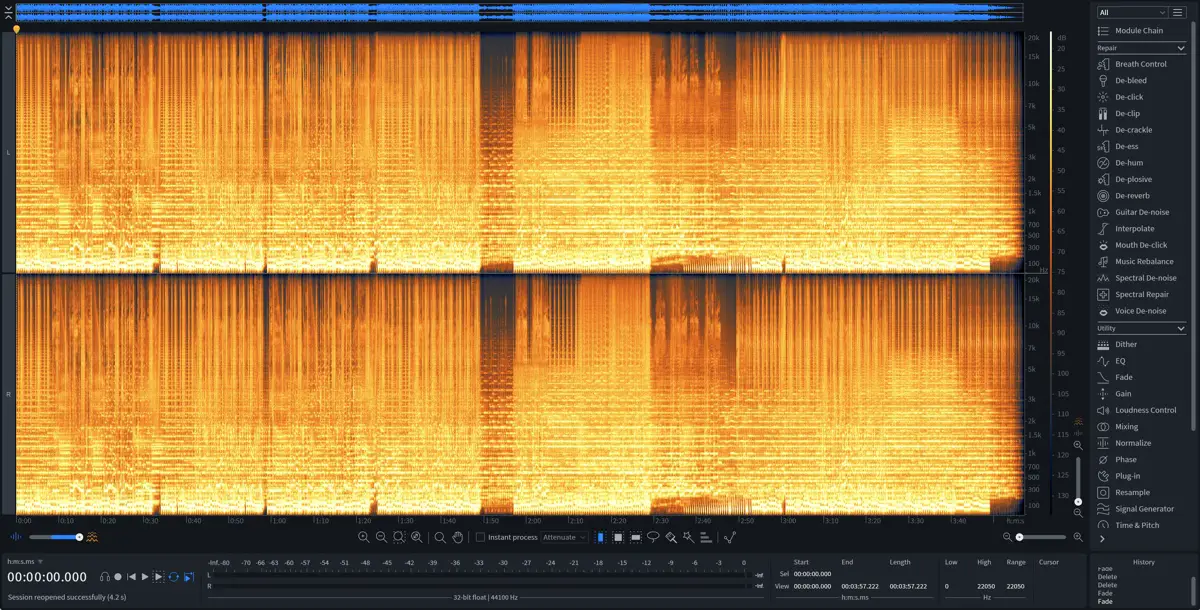
If you're recording from home, it's likely you still picked up some unwanted sounds our background noise.
You can use a DeNoising plugin to easily remove this noise, and iZotope's RX is the best one for this purpose.
iZotope RX is a powerful audio editing software that can be used to clean up noise and other audio issues. The software includes a number of features that make it ideal for cleaning up noisy audio, including a de-noising tool that can be used to reduce background noise.
In addition, iZotope RX also includes a number of other features that can be used to improve the quality of audio, such as DeClipping, DeEssing, DeClicking, and more.
As a result, iZotope RX is an essential tool for anyone who wants to clean up their audio.
If you want to see RX in action, check out my tutorial below where I break down how to clean up poor vocal recordings.
3.Editing: Aligning & Tuning
Next, you're going to want to edit your vocals, which means aligning and tuning.
If you're laying vocals, then aligning is especially important. This is the process of lining up all of your tracks with the tempo of your song, and with each other.
That complete, the next editing step is tuning.
Most digtal audio workstations give you the ability to turn your vocals and edit the pitch of each vocal phrase.
Use this tool to correct any vocal phrases that are out of tune.

Create Better Songs, Faster
Click below to download my free song-finishing checklist to help you create radio-ready songs without taking months to complete them.
4. Volume Automation

If you're like most people, the word "automation" probably conjures up images of robots taking over our jobs.
But in the world of audio engineering, automation is a vital tool that can help reduce the dynamics of a performance while also giving the engineer greater control over the final mix.
In particular, volume automation can be a powerful tool for shaping the sound of a track.
By using a gain plugin to automate the level of each individual track, you can produce a much more polished and balanced sounding vocal performance.
Use automation to turn down the loud parts of the performance, and to turn up the quiet parts.
The goal here is to make sure that you can hear every phrase clearly, but also that nothing jumps out at you as being too loud.
This will also make the job of compressing your vocals (which comes later) much easier.
5. Add Saturation
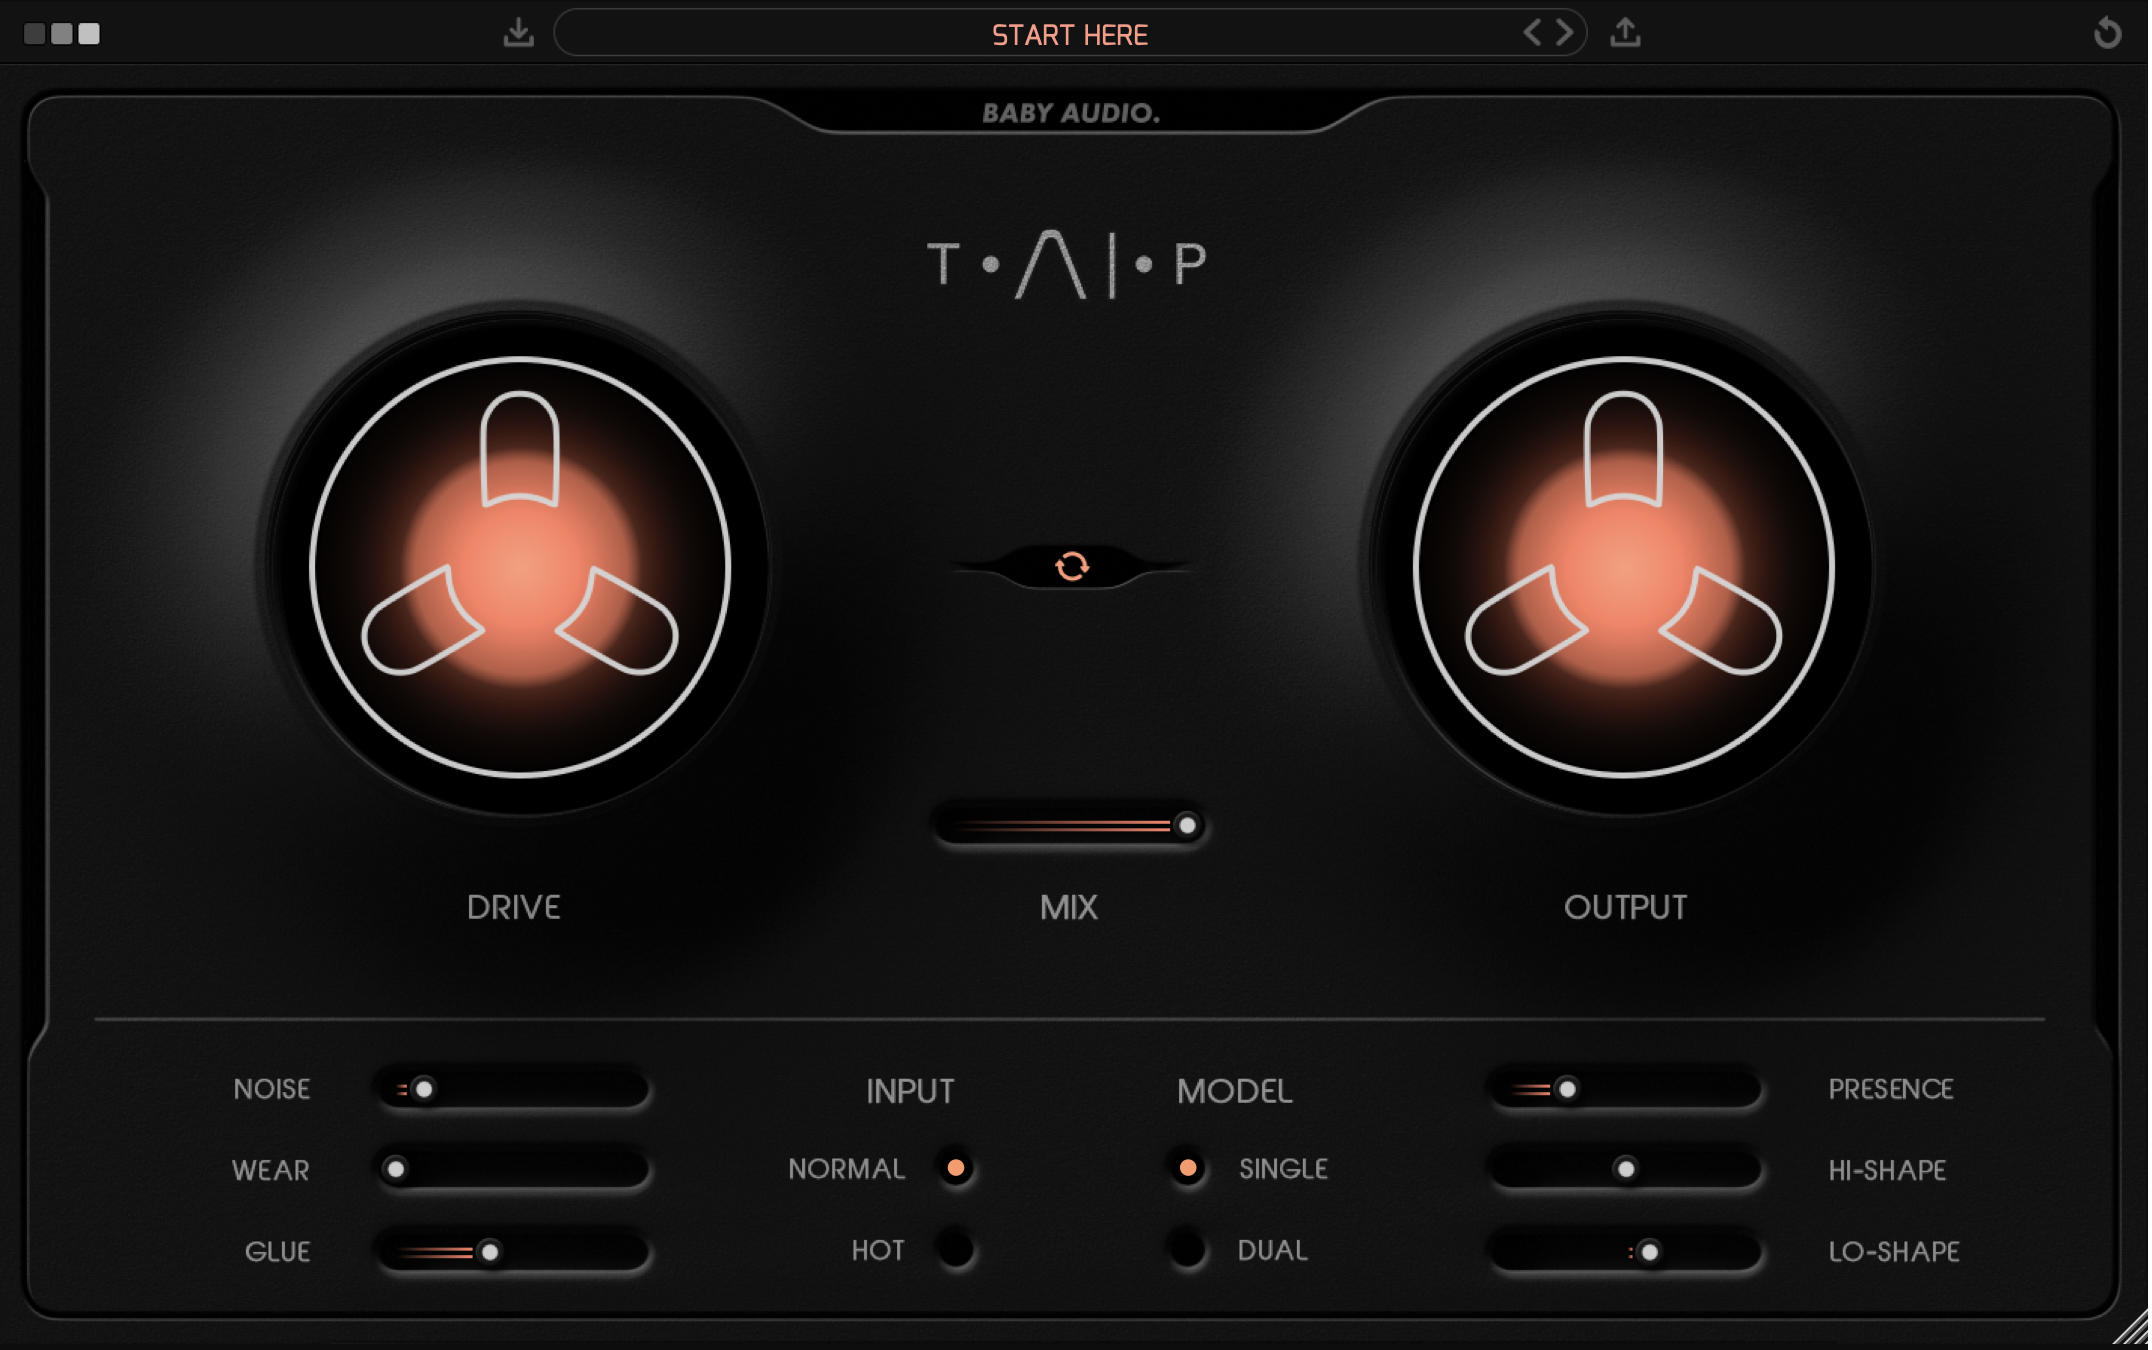
It's also an an excellent idea to add saturation to vocals, as it will add pleasant harmonics, thickness, and warmth, while also helping to control transients by adding some subtle natural compression.
Saturation is combination of two different effects: soft-knee compression and harmonic generation. Saturation occurs when analog gear is overdriven which leads to subtle, pleasant-sounding, distortion.
When you hear people say that physical analog gear is better than digital, it is saturation that they are referring to.
However, today there are many software plug-ins and tools that can help you recreate this analog saturation sound.
For a complete guide to using saturation on vocals, check out my article here.
6. Surgical EQ
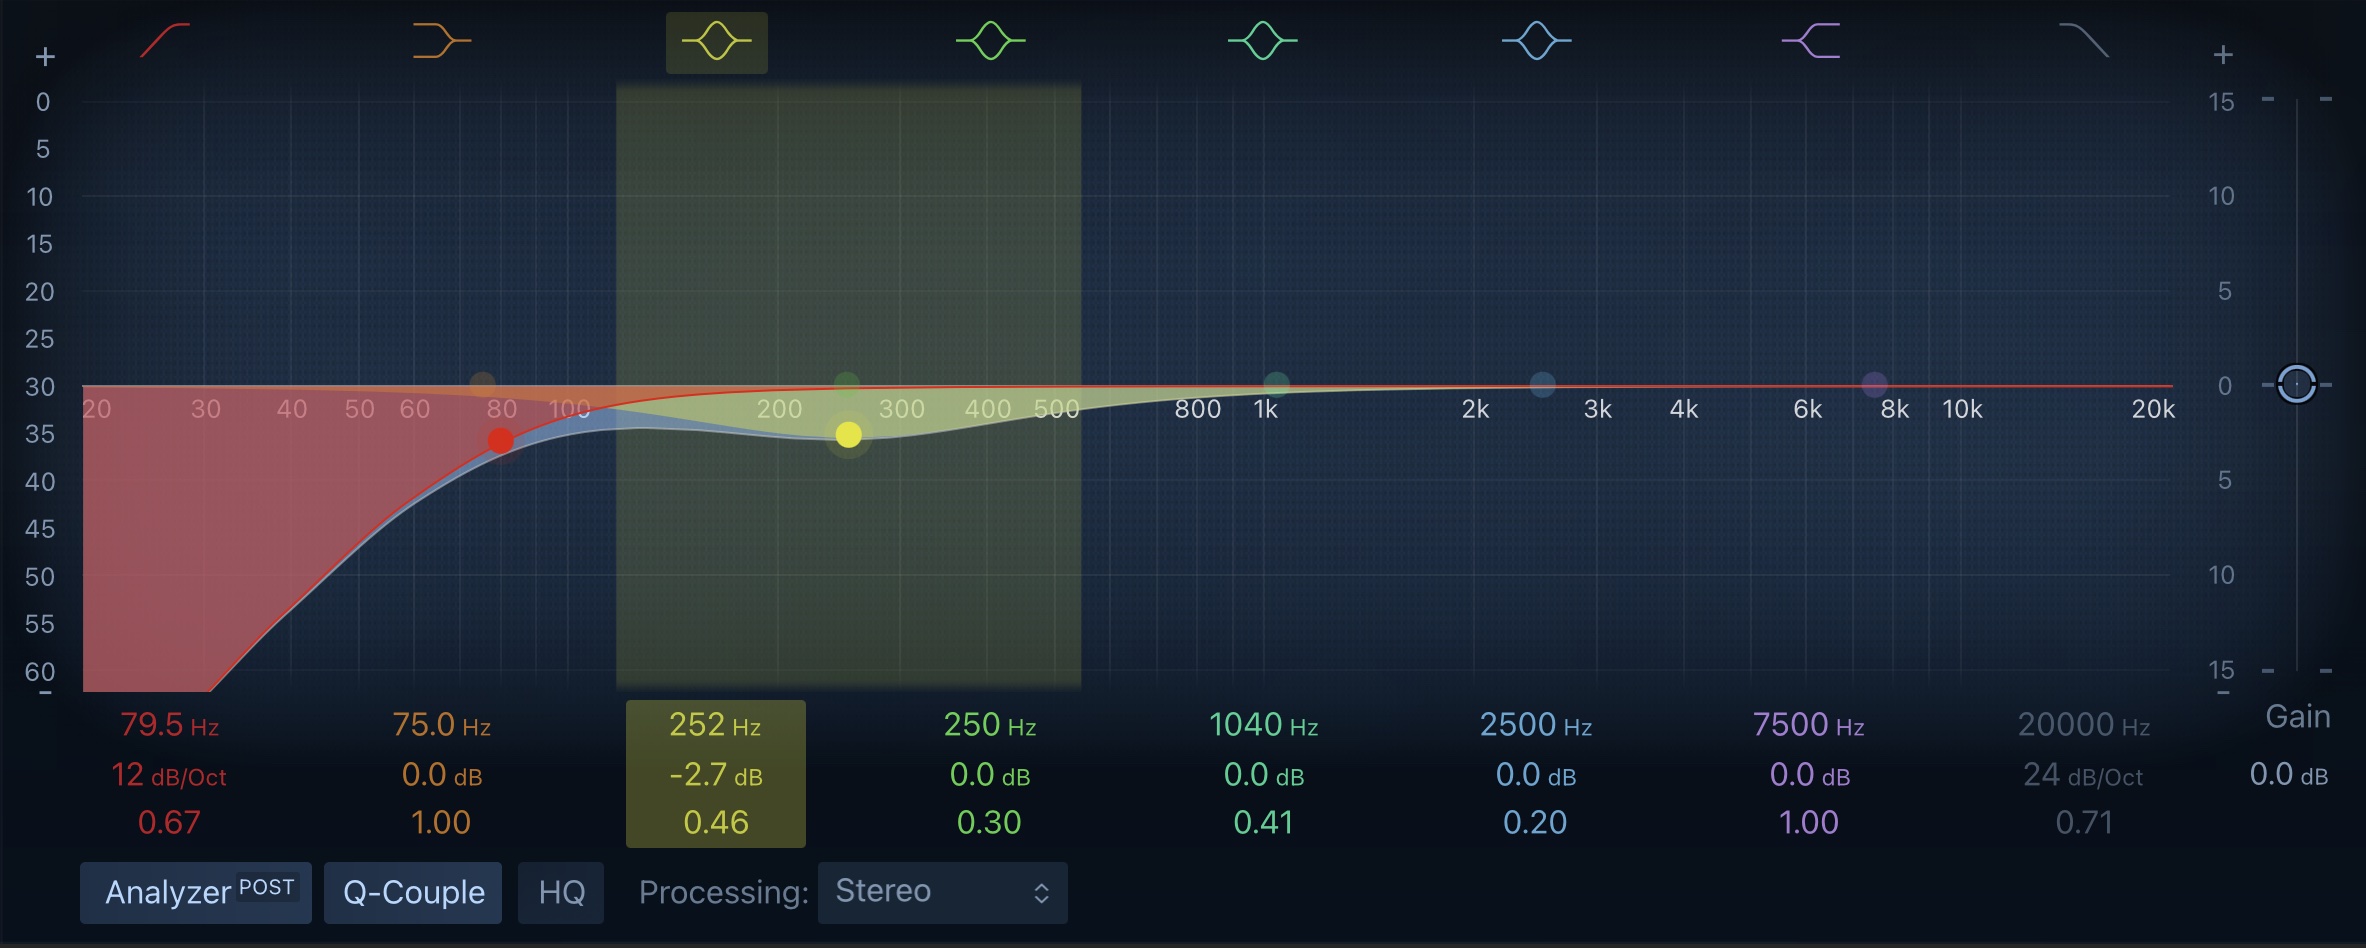
EQ is one of the most essential tools in an audio engineer's toolkit. And when it comes to EQ, there's no better tool than surgical EQ. Surgical EQ is a type of EQ that can be used to precisely adjust the tone and level of individual frequencies. This makes it ideal for fixing problems with the frequency response of a track, such as unwanted resonances or muddiness. So if you're looking for a tool that can help you clean up your mix, surgical EQ is the answer.
Here are some good steps to get you started with cutting EQ on vocals:
- Roll off the low-end starting around 80 Hz.
- Cut the mud around 250 Hz.
- Reduce sibilance around 5 kHz to 10 kHz.
7. Compression
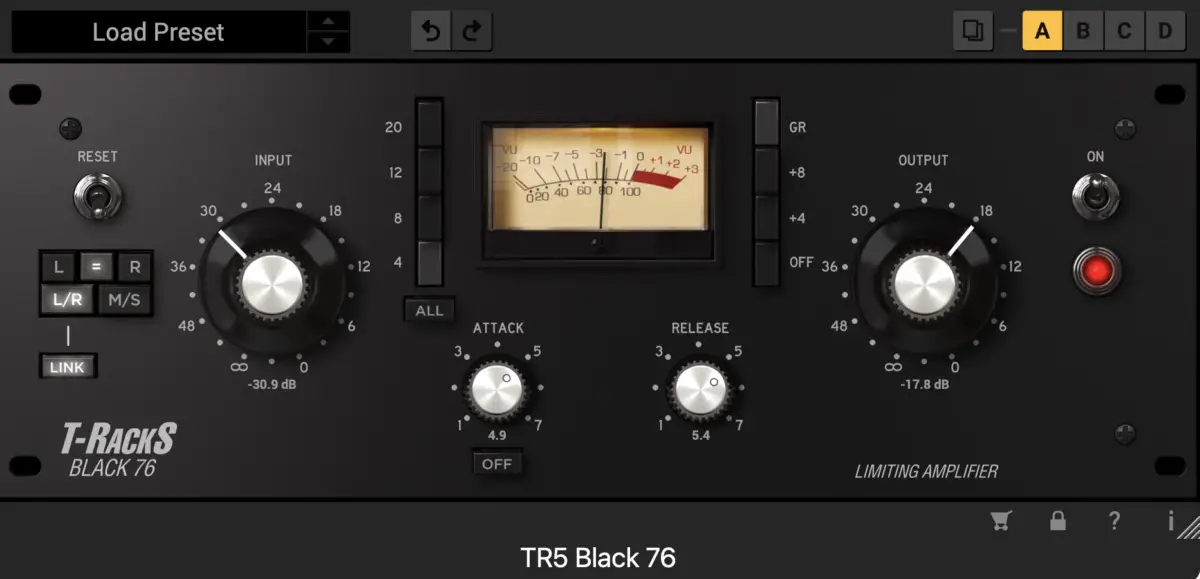
Compression is another vital component of achieving professional-sounding vocals.
Compression will help your vocals to sound more full and upfront in the mix.
The settings you use on a vocal compressor will depend on what you're trying to achieve.
However, here are some general tips:
- Use a slow attack time so that the initial transient is not squashed.
- Use a fast release time so that the vocal doesn't sound unnatural or forced (try and have the needle reset before the next vocal phrase).
- Start with a moderate threshold so 3-6 dB of compression is taking place.
- Use a moderate ratio of 3:1 or 4:1 so that the vocal is compressed a decent amount.
- Play around with the knee setting to see what sounds best.
8. Sweetening EQ
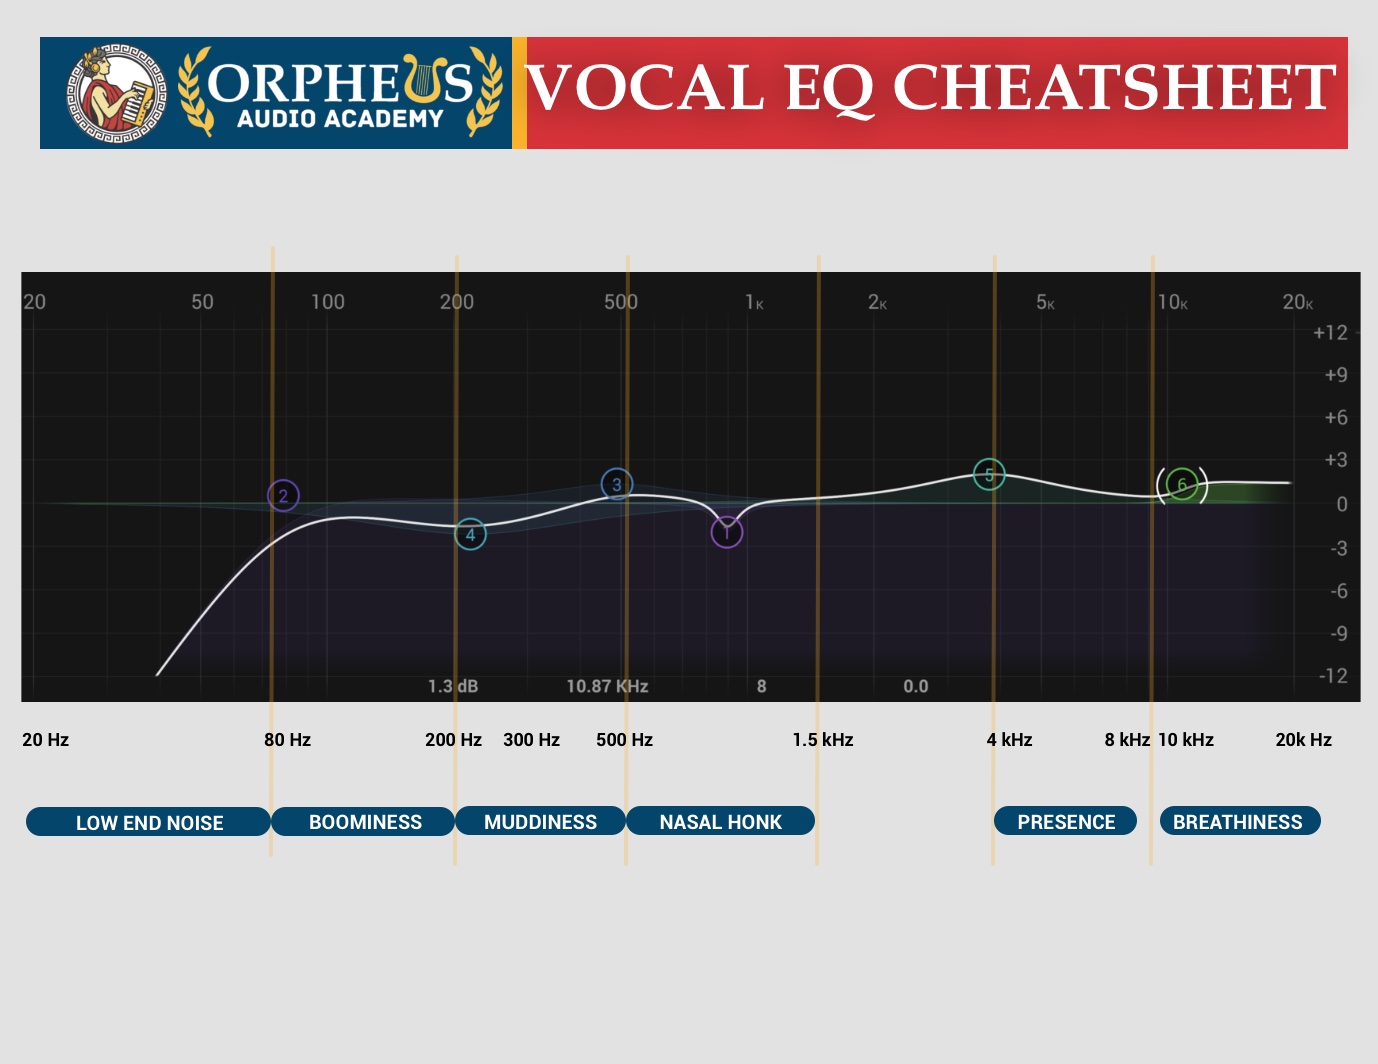
After you've made your cuts, it can also help to add some subtle boosts, ideally with an EQ plugin that emulates analog gear, as this can help add some nice color and warmth to the vocal.
Here are some good steps to get you started with boosting EQ on vocals:
- Add a high shelf around 9 kHz.
- Add a presence boost around 2-6 kHz.
9. Delay And/Or Reverb

Reverb
Reverb is a common effect used in music production to add a sense of space and depth to vocals and other instruments. Here's a step-by-step guide on how to add reverb to vocals in a digital audio workstation (DAW):
First, create an auxiliary channel or bus and route the vocals to it. This is where you will insert the reverb plugin.
Now, add a reverb plugin to the auxiliary channel. There are many different reverb plugins available, so choose one that you like and that fits the style of your music.
Once the reverb plugin is inserted, adjust the wet/dry mix all the way to wet.
Experiment with the different parameters of the reverb plugin to find the sound that you like. Some common parameters to adjust include decay time, which controls the length of the reverb tail, and pre-delay, which determines the amount of time between the dry sound and the onset of the reverb.
Once you are happy with the sound of the reverb, you can adjust the volume of the auxiliary channel to blend the reverb with the dry vocals.
Delay
Delay is a popular effect used in music production to create a sense of space and depth, as well as to add interest and complexity to a sound.
First, create an auxiliary channel or bus and route the vocals to it. This is where you will insert the delay plugin.
Now, add a delay plugin to the auxiliary channel. There are many different delay plugins available, so choose one that you like and that fits the style of your music.
Once the delay plugin is inserted, just like with the reverb, turn the dry/wet mix all the way to wet.
Experiment with the different parameters of the delay plugin to find the sound that you like. Some common parameters to adjust include delay time, which controls the interval between the original sound and the delayed repetition, and feedback, which determines the number of times the delayed sound is repeated.
You can also adjust the EQ of the delayed sound to create a different character for the delay. For example, boosting the high frequencies can give the delay a brighter, more present sound, while boosting the low frequencies can give it a warmer, more distant sound.
Once you are happy with the sound of the delay, you can adjust the volume of the auxiliary channel to blend the delay with the dry vocals.
You can consider adding a very short delay just to add some space, or you can make the delay longer to use it as more of an effect.
If you do use a longer delay, just consider automating how much of the delay you are sending to the vocal, as you don't want the repetitions to clutter up your vocal performance.
You can also use sidechaining so that the delay is turned down whenever the dry signal is playing so that the delay only peaks through the individual vocal phrases.
Check out my Sidechaining article here on how to set this up.
Finish More Radio-Worthy Songs, Faster!
Mixing pro vocals is just one piece of the puzzle when it comes to producing pro-quality songs.
If you want a proven step-by-step formula for mixing radio-worthy tracks from start-to-finish...
Create Pro-Mixes, Faster
Click below to download my free song-finishing checklist to help you create radio-ready songs without taking months to complete them.
This checklist will walk you through a proven step-by-step mixing and mastering process so that you don't ever have to guess or wonder what to do next.
You'll know exactly what to do, and when, so you can quickly mix, master, and finish more tracks.
I hope you found this post valuable on how to get pro vocals.
If so, feel free to share, and let me know in the comments below…

