I was taught that you absolutely can't mix or master on headphones, and for good reason.
When working in headphones, your mix or master can sound great! It can sound clear and wide, but then when you try listening to your song in other environments or on other devices, it just doesn't translate well.
But this brings up a big problem...
What if you can't afford expensive studio monitors, or don't have the money to invest in creating an acoustically-treated studio?
Some might say, "Hey, just pay someone else to master!" But if you're wanting to release a lot of music, the costs for paying for mastering can add up very quickly.
I'll tell you what, if that's you, I can relate because I'm actually in the same boat.
For people like us, our only option is mastering in headphones.
Thankfully, if you apply the tips in this article, you can still create great, professional-sounding masters that translate well...
Just using headphones.
Advantages To Working In Headphones
Before diving into the tips, I just wanted to state that there are actually some advantages to working in headphones.
Even if you have studio monitors (which I do) using them in an unideal room that hasn't been acoustically treated (which I have) can cause your ears to be tricked.
For example, bass frequencies can be lost through your walls, or collect in the corners of your room, which can make it hard for you to really hear the bass.
This can cause you to erroneously increase the bass in your mix or master so that it sounds good in your room on your monitors, but then you find when you listen to it back on other devices...
You hear a lot of mud, and way too much bass.
So by working in headphones, you eliminate the room from what you're hearing.
Additionally, listening back on headphones can make "quality control" easier.
You may find it's easier to hear those little errors, sounds, or noises you don't want in your song, and address them.
So while listening back on monitors in an acoustically treated room is the ideal listening environment, if you don't have that, there are some advantages to using headphones.
1. Use The RIGHT Headphones
This one is probably pretty obvious, but if you are going to be mastering with headphones, you want to make sure you are using the RIGHT kind of headphones.
But which kinds are right?
In short, there are three key "check boxes" you want your mastering headphones to check.
You want your headphones to be:
Frequency Response
Well, you're going to want to get the most linear or "boring" kind of headphones you can get.
You don't want to use wireless headphones, as those use bluetooth, which results in a lossy audio signal.
You also wouldn't want to use any headphones that provide a boost in any frequency range, like bass for example.
Probably the most egregious pair of headphones to use would be something like Beats by Dr. Dre (most overrated headphones ever?).
Here is what the frequency response of Beats is:

This graph shows what you hear when wearing Beats. The X axis is showing the frequencies, from 20Hz to 20kHz (which is what the human range is.)
The idea is that the line in this graph for all headphones and speakers, especially when mixing and mastering, should be as flat as possible.
Does this look flat to you?
High Impedance Rating
Impedance is the effective resistance of an electric circuit or component to alternating current, arising from the combined effects of ohmic resistance and reactance
Or, in plain English, impedance is a measure of the opposition to electrical flow. It's how hard, or easy, it is for an electric signal to travel to a cable, in our case, a headphone cable.
Impedance is measured in "ohms".
Headphones are usually rated between 8-600 ohms, with a standard around 32.
The higher the rating, the more efficient the headphones, and the higher the quality.
However, headphones with a higher rating will also require a higher-quality audio interface, so if you're plugging directly into a laptop, you might need headphones with a lower rating.
Open-Backed
You're also going to want to use open-backed headphones, as opposed to closed back.
Open-backed headphones allow for some degree of air and sound to pass through the cups, which can proivde a greater sense of depth and a truer portrayal of low frequency information.
In other words, you're going to get a more accurate picture of your mix or master by using open-backed headphones.
Best Headphones For Mastering
With these three factors in mind, what are the best pair of headphones to get for mixing and mastering?
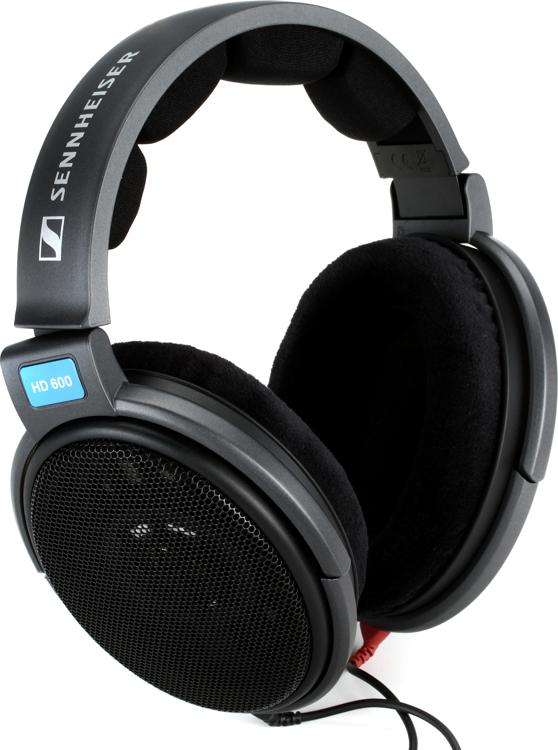
One pair that has been around for a long time, and generally regarded as one of the best for mixing and mastering is the Sennheiser HD600. With their flat frequency response, high impedance rating, and open-backed design, they are great for mixing and mastering.
They're also the pair that I use!
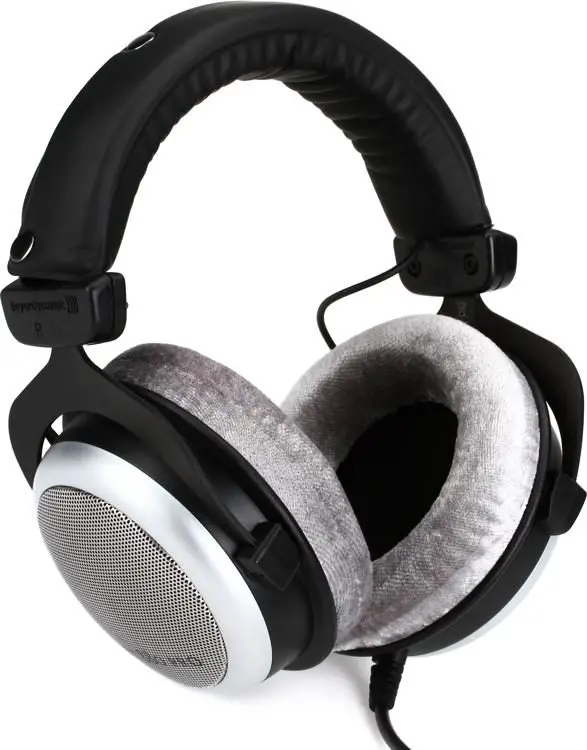
But, if you want options, another great choice are the Beyerdynamic DT 880s.
2. Use Reference Tracks
The next thing you're going to want to do is use reference tracks.
Reference tracks are professionally mastered songs in your genre that you'd like your song to compare to, or stack up against.
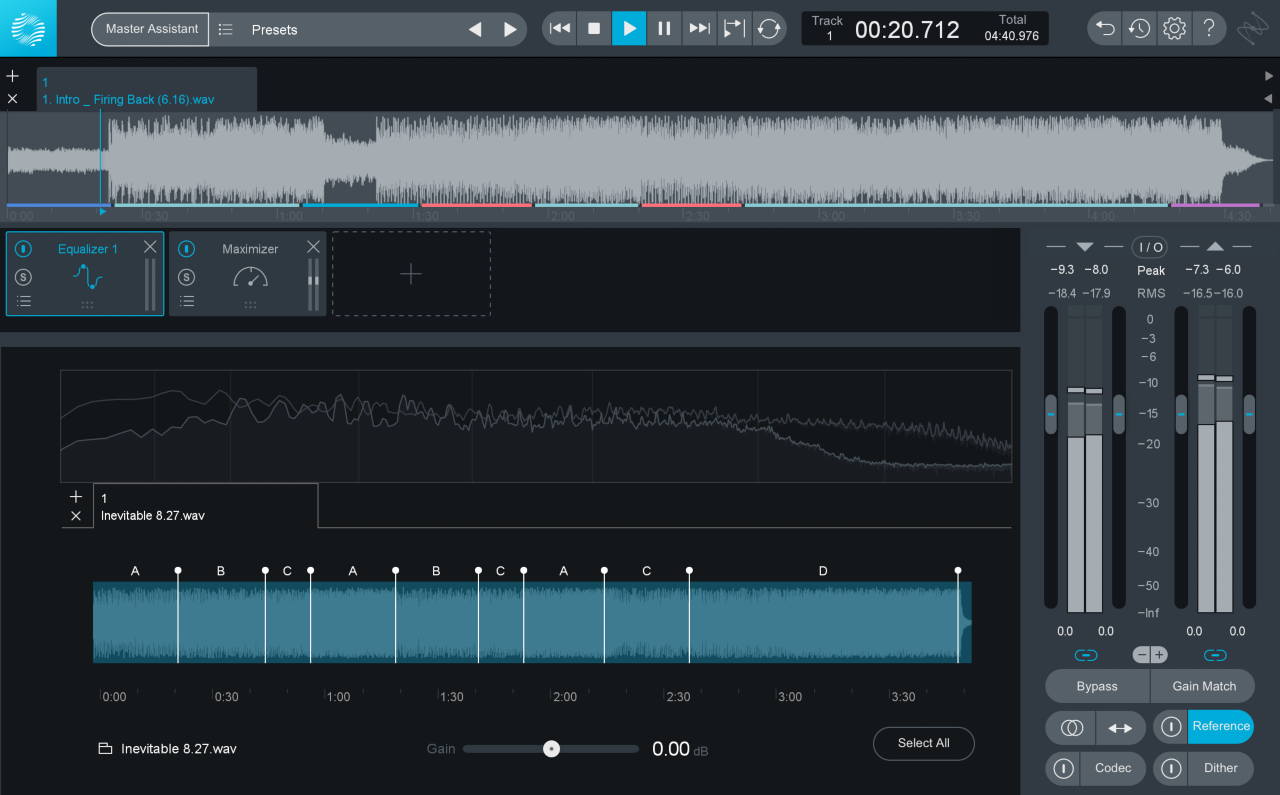
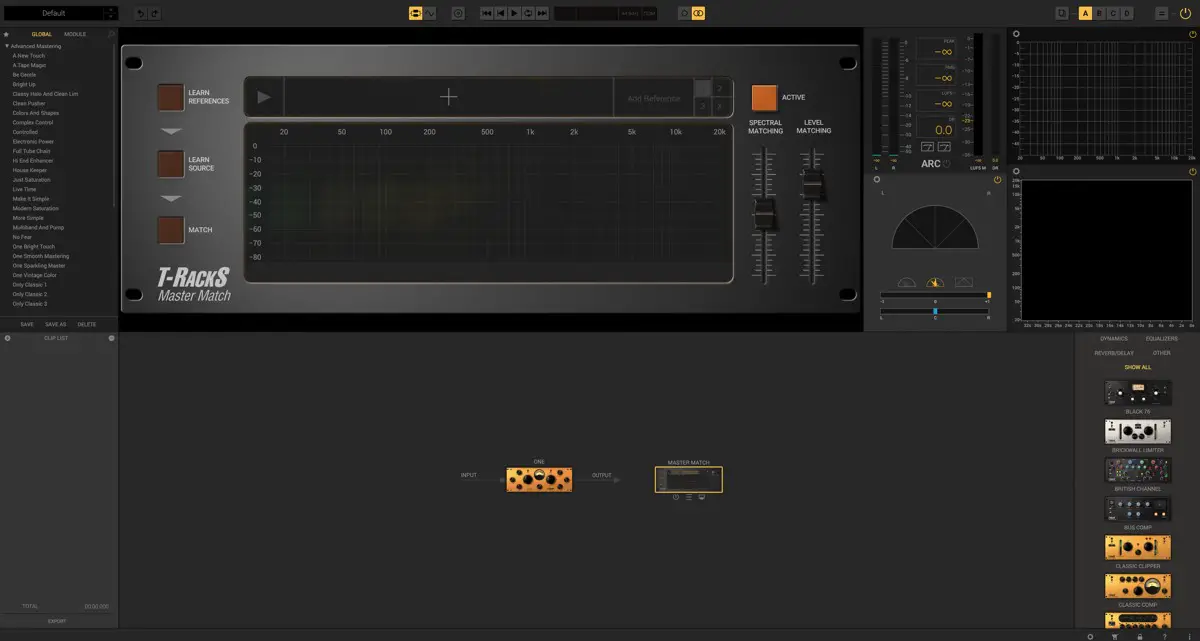
Just drop your references into your DAW, or into a mastering tool if you have one, like iZotope's Ozone or IK Multimedia's T-RackS.
You certainly don't need a tool like Ozone or T-RackS to master your music, but they do have some very helpful features, such as matching the EQ curve of your song to that of your reference.
Why Should You Use References?
You don't need a fancy tool, but what you DO want to do is listen to your reference track and compare it to yours. (Just make sure to volume match so that your two tracks are roughly the same volume when comparing).
Trying to master your song without a reference is like being told:
"Hey, go draw a picture of your car from memory."
Could you do it? Probably. But would the picture be better if you could actually be looking at your car as you're trying to draw it? Definitely.
That's the power of references.
When comparing your song to the reference, you'll want to listen for a few specific things:
You're not trying to get your track to sound exactly like the master, but you're listening to see if the relationships between each of your frequency ranges are comparable to the reference.
If your track closely matches the reference, odds are good that it will translate well outside of your headphones and studio.
3. Listen Back At a Consistent Level
Now, as you go to make adjustments, be sure to listen back at a consistent level.
The ideal listening volume is 85-90db, because that is the volume level that the human hear hears all frequencies the most linearly.
Now, you don't want to listen too long at this volume level, as it is quite loud, and listening too long at this volume will fatigue your ears quickly, and beyond that, could even damage your hearing.
There's a problem with shooting for this level on headphones, though. You can't easily measure if you're at the right volume level on headphones.
So at the very least, what you'll want to do is be sure to match your song's volume level to that of the reference.
You can also be sure that you're actually improving your song, and not just making it louder, by placing your limiter first.
Not first in the plugin chain (limiter always goes last), but have it on from the beginning so your song's volume is set correctly.
From there, any new plugins you add, be sure they are not increasing the volume at all by adjusting the output settings on each plugin as necessary.
4. Use A Timer
Mastering is supposed to be a fast process. Ideally, you're not spending more than 20 minutes mastering a song.
This is because the longer you listen to a song, the more fatigued your ears get, and harder it is to make objective decisions.
In order to help yourself stay focused and making decisive decisions, consider masterings with a timer.
If you know the clock is ticking, it can help you stay focused, and not get lost in the weeds.
After all, if you did your job mixing, then there shouldn't be any major changes to make.
Mastering is just for sweetening and letting the final volume level so that it can compete with all the other songs out there.
5. Use A Tonal Balance Tool
If you're going to be mixing or masting in a less than ideal environment (i.e. in headphones), then it can be helpful to rely on your tools a little bit more.
Of course, you have your level metering tools that looks at peak volume and average volume, and LUFS, but it can be helpful to also use a tonal balance tool.
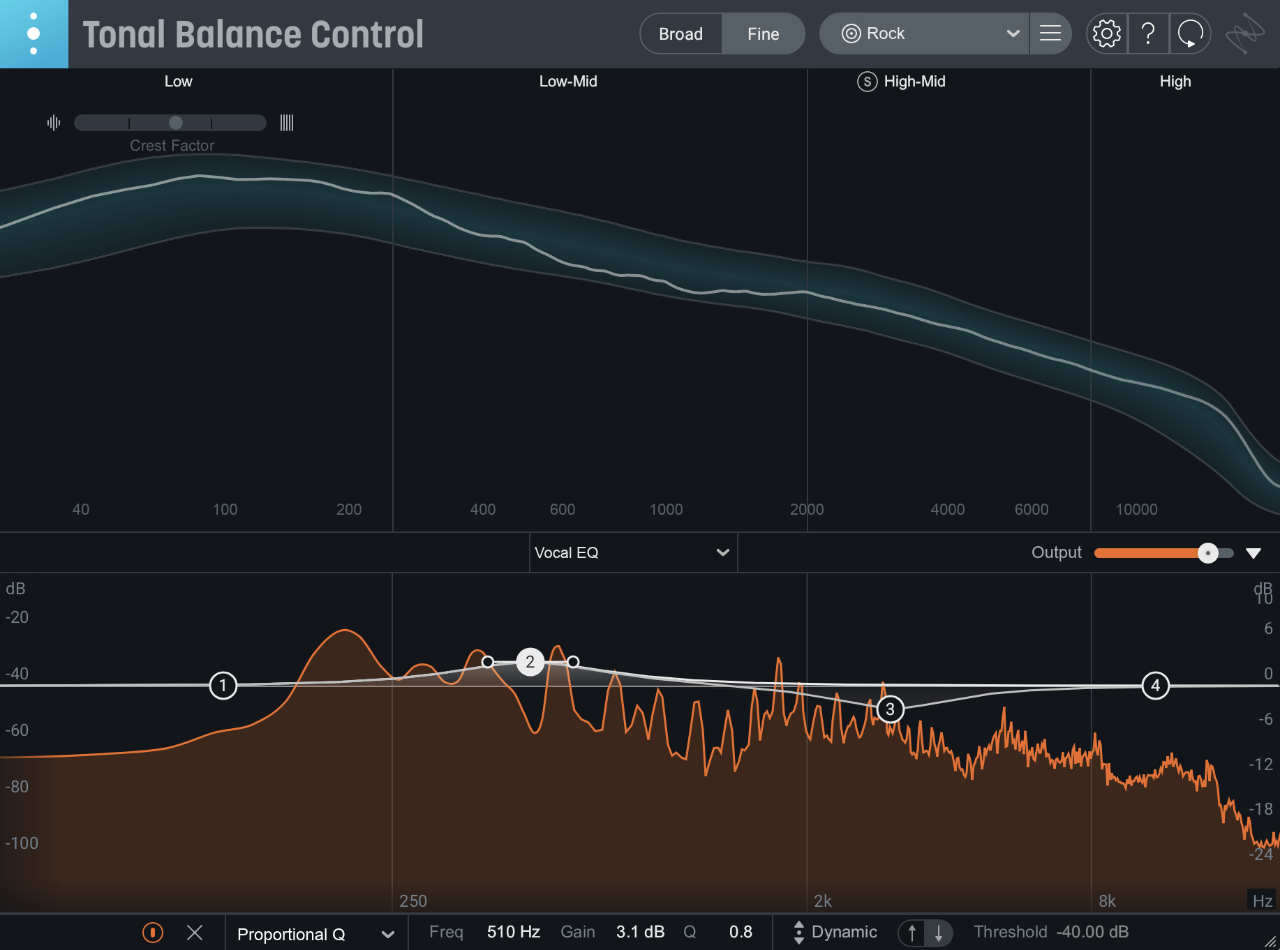
iZotope makes a great tonal balance control tool, which shows you what your volume levels should be for each frequency range, based on the genre of music you're creating.
So even if the bass sounds great in your headphones, you can see if it's actually a bit too loud for your genre.
The same goes for every other frequency range.
Of course, you still want to use your ears, but this tool is handy for knowing if you're at least in the right ball park.
6. Use An Imaging Tool
Another important tool is an imaging tool, not just to see how wide your track is, but also to see if there are any phase issue.
Phase problems are big issues you want to avoid in your mix or master because it can cause audio to be completely lost and canceled out when listened to on other devices.
Obviously, not what you want.
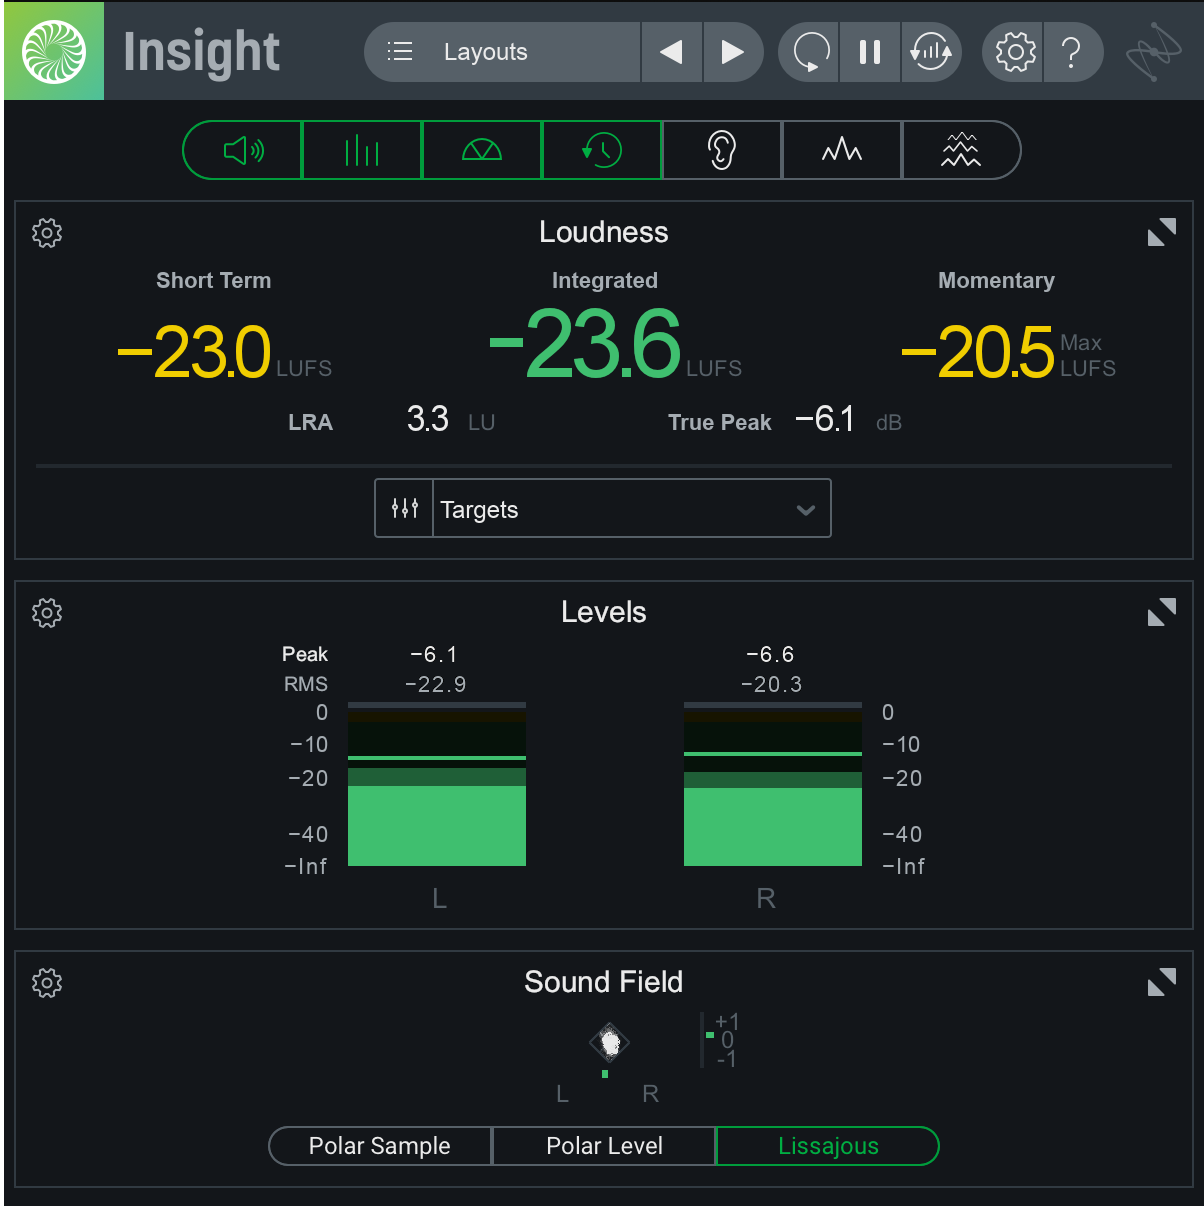
My favorite metering tool is another iZotope product, Insight 2.
One of it's features is an imaging tool that includes a "Lissajous Vectorscope", which plots stereo positions of the signal on a diamond-shaped display.
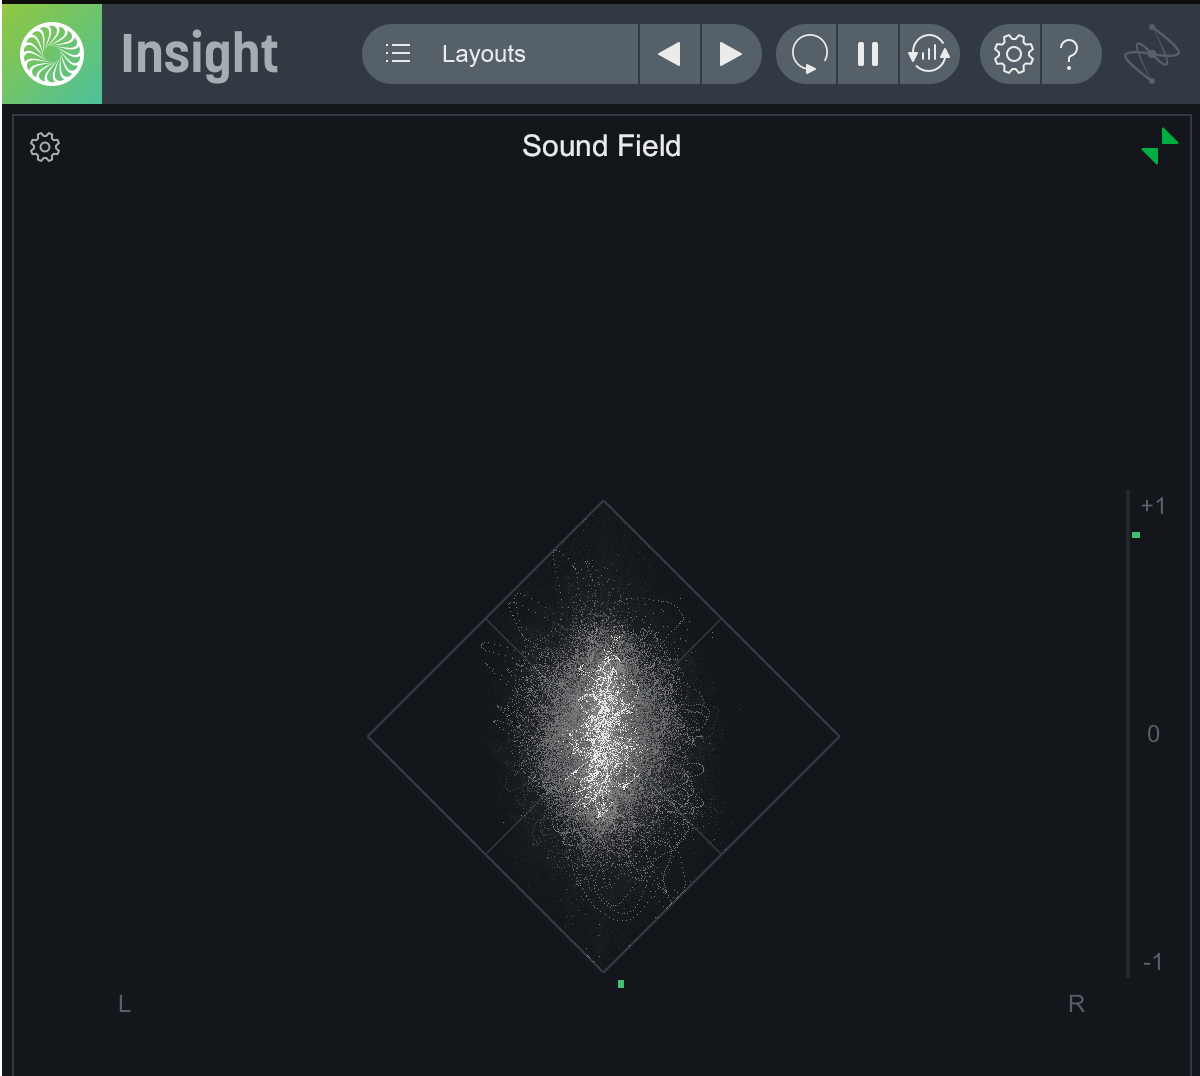
This shows if you have any sounds straying into the danger territory of the horizontal axis in the display. If you see your track is mostly in the vertical, then you know you're safe.
By the way, a good way of making sure you're not creating phase issues when trying to widen your track, is to only widen frequencies in the mids and above. Keep the low mids and bass mono/centered.
7. Turn Your Headphones Into A Professional Studio
You can use a tool like Waves' NX to turn your headphones into a studio environment.
Sound like science fiction? Well, it's not.
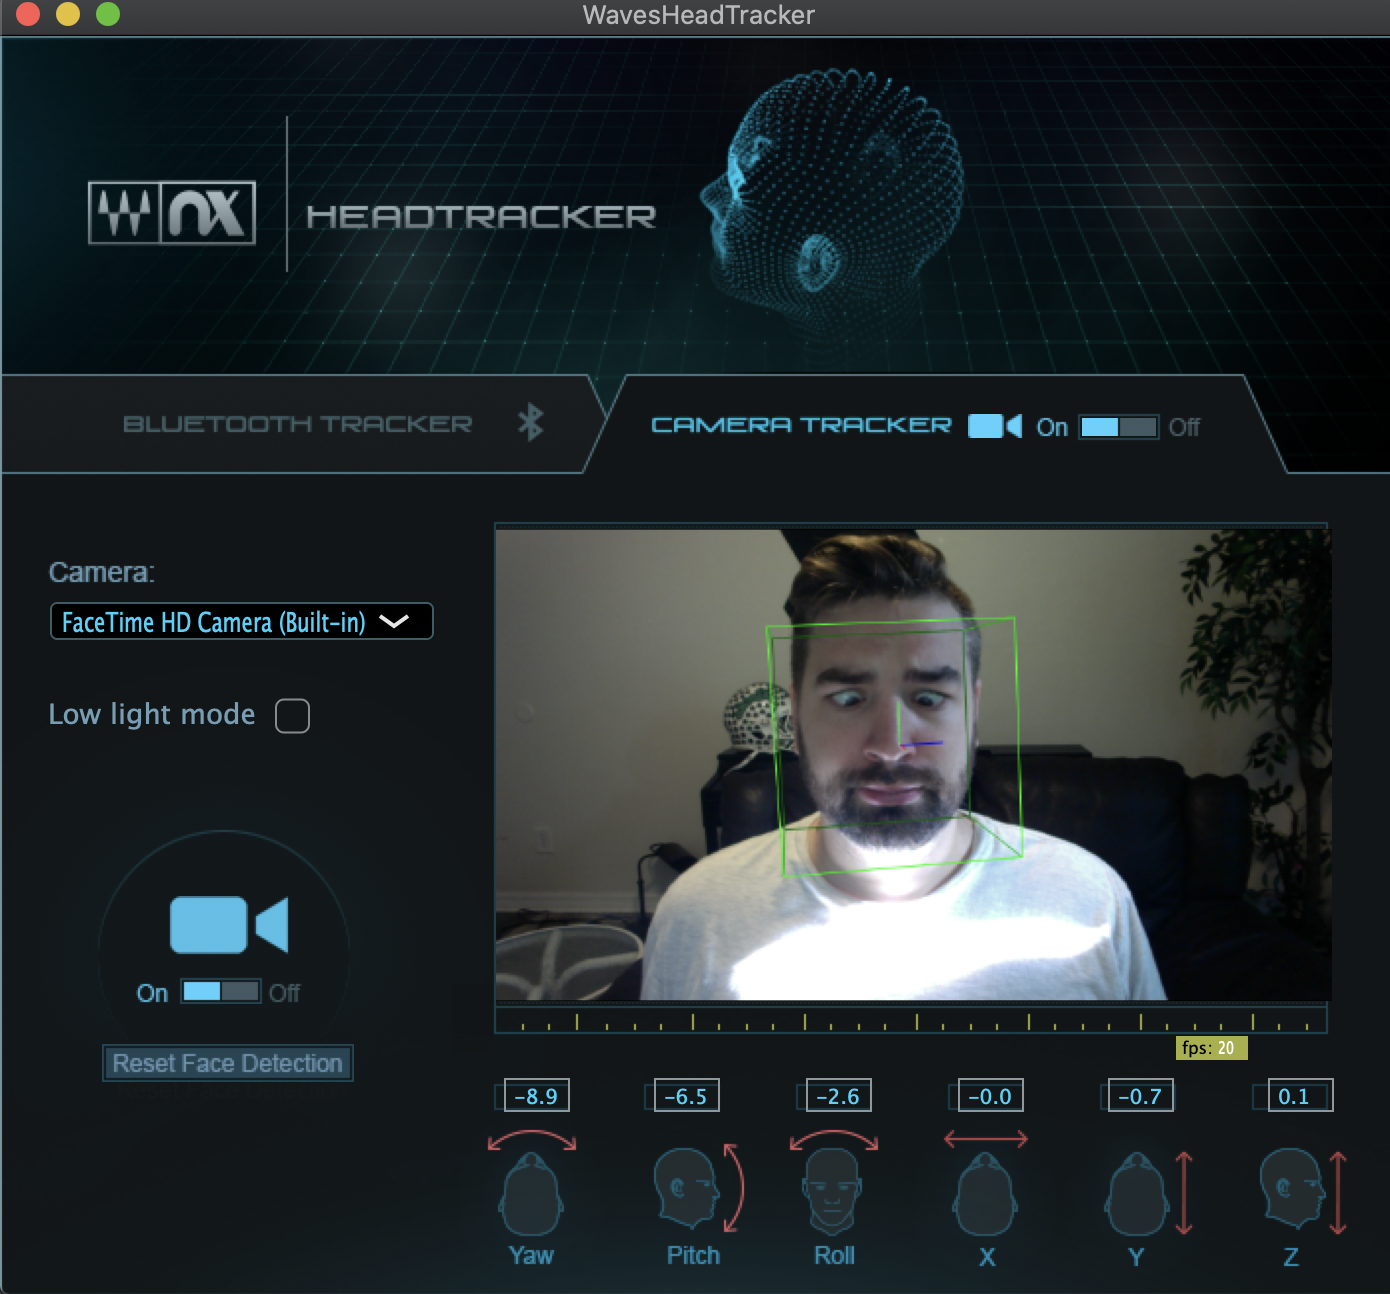
This plugin recreates the acoustics of a high-end studio inside your headphones, so you can make great mixing decisions anytime, anywhere.
Nx Virtual Mix Room is a virtual monitoring plugin that delivers, on headphones, the same three-dimensional depth and panoramic stereo image you would be hearing from speakers in an acoustically treated room.
Nx lets you mix and monitor with greater confidence, giving you a better representation of how your headphone mixes will translate to speakers. Insert the plugin on your master buss, and hear all the elements of your mix accurately laid out in space, just as you would in the sweet spot of a great-sounding professional mix room.
Is it perfect? No, but it definitely sets you up better to mix and master on headphones.
8. Test On Other Devices
Once you have your master done (you think), it's time to run it through the "gauntlet", and test it on a variety of devices, including cheap speakers
Test your song on whatever you have, such as:
Cheap speakers reveal hidden problems in your mix, as they tend to have an overabundance of midrange frequencies. They also will frequently have poor bass response and many times a muted top end.
Listen to your mix for a minute and take note of any sounds or instruments that stick out in a bad way.
If you're able to play your mix on some bad speakers directly from your computer, this is great because you can make tweaks while you're monitoring.
If you find a problem frequency, you can try and sweep around on an EQ on your mix buss while listening to the heavy mids mix. Once you find that frequency, you can dial it down a bit.
More than likely you won’t notice anything missing on your headphones, or better speakers.
Problem solved. Now your mix sounds better everywhere!
Bonus: Just Do It!
I let the idea that I couldn't mix or master on headphones hold me back for a long time.
Here's the truth.
You just need to get out there and do it!
(Also don't let anyone tell you that you can't master your own music.)
As with anything, the more you do it, the better you'll get and the more you'll learn.
Don't let not having monitors be a reason why you're not releasing music.
After all, listeners care far more about the song writing and instrumentation than the production quality.
Even if your production quality isn't great, if you've written a great song, people will still love it.
How To Write "Hit" Songs Your Fans Will Love
Speaking of writing great songs, if you're looking for a proven formula or template you can use to give yourself a framework for writing great songs, every time...
Then grab my free Hit Creation Checklist by clicking the button below.

Write A Hit Song!
Click below to download my free Hit Creation checklist which demystifies the songwriting process and boils down the techniques hit songwriters use into a simple 9-step formula.
This checklist will break down the 9 key elements that all the biggest hit songwriters tend to include in every single one of their biggest hits.
I hope you found this post on, "Mastering Music Without Monitors: 8 Tips For Mixing & Mastering On Headphones", helpful!
If so, feel free to share, and let me know in the comments below:

