
Have you heard people in the audio space throw around the term “mixing in the box” and wondered what it meant?
“Mixing in the box” is a term that refers to the process of mixing a song using only a computer and software (the box) rather than external hardware. In the past, mixing using external hardware was the only option, but today, it is now possible to create a professional mix “inside the box”.
What does “in the box mean” in music?
“In the box” refers to the computer, and the accompanying audio software within. Historically, all songs were mixed “outside the box” because there were no “boxes”, meaning, computers for music production didn’t exist.
Everything was mixed using an analog console and other hardware.
Many today will claim that “mixing in the box” is inferior to mixing using analog gear or analog summing because it lacks a certain “warmth” or “width”.
By mixing on analog gear, your sound naturally effected merely by passing through the circuitry of the hardware.
The result is a pleasant warm or “expensive-sounding” coloration.
Regardless, it’s now a reality that many professional producers are now creating great-sounding mixes “inside the box”.
While you don’t get the pleasant coloration of analog gear when mixing in the box, you do have the advantage of flexibility, as you don’t need thousands of dollars worth of hardware, and you can easily change your process in just a few clicks…
Whereas once you’ve effected something via hardware, it’s done. You can’t un-bake the cake.
What does mastering in the box mean?
Likewise, “mastering in the box” is the process of mastering a song completely inside of a computer without the use of any external hardware.
This is also now a viable method for creating professional songs.
How To Mix In The Box
Now that we understand what “mixing in the box” is, how can we maximize the benefits of mixing in the box, and minimize the downsides?

Create Better Songs, Faster
Click below to download my free song-finishing checklist to help you create radio-ready songs without taking months to complete them.
1. Create A High-Quality Recording
Whether you’re mixing in the box or on analog gear, the first step is always to create as high-quality of a recording as possible.
If you are starting with poor-quality recordings, you’re going to have a poor-quality mix. As they say in the industry, “you can’t polish a turd.”
So as always, record your instruments correctly.
If you’re making music using mostly samples and virtual instruments, then your job is mostly already done, and you don’t have to worry about recording much.
That said, you may still be recording vocals, and if so, then you can check out my video below on how to record professional-quality vocals on a cheap microphone.
2. Compensate for Latency
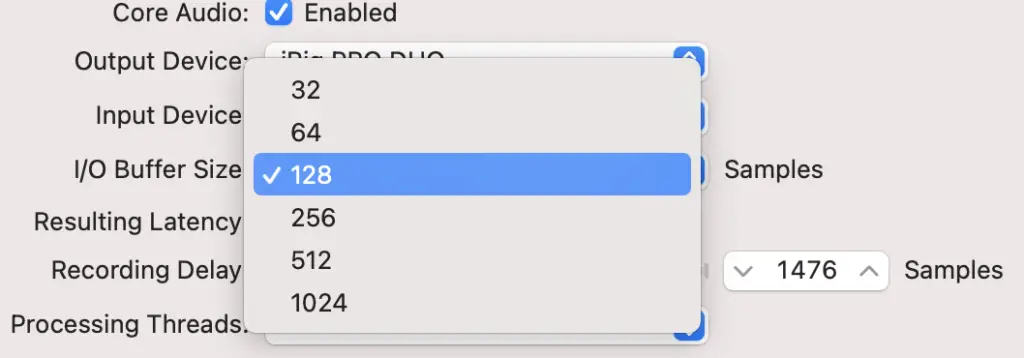
An obstacle you’ll have to overcome when recording in the box is latency. If you’ve ever been trying to record a vocal but it’s delayed and not matching up with the music, then you’ve experienced latency.
To fix this issue, you probably just have to adjust your buffer size.
Here is my article on what is a good buffer size for recording and mixing.
Also, if you’re getting that annoying “system overload” error where your computer just can’t keep up with your processing load, then you can watch my video below.
3. Leave Enough Headroom
On a console, or with most hardware gear, if you push the volume too high, you get pleasant-sounding saturation or coloration.
This is what distortion is on electric guitars. It’s technically an error, as the audio signal is getting distorted from being pushed too far, but we actually find it sounds good so now it’s an actual effect.
This is not the case in the digital world.
If you got too loud in the digital world, you get very UNPLEASANT clipping where audio is savagely decapitated.
To avoid this, make sure you’re always leaving yourself enough headroom.
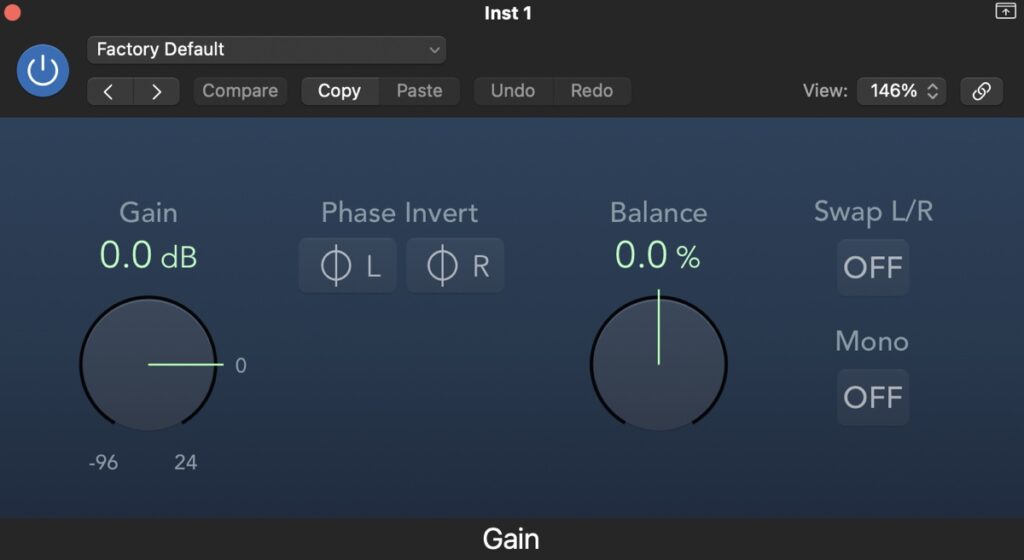
Use the default gain or “trim” plugin in your DAW to turn down the volume of your tracks.
You should also use a meter on your mix bus or stereo out track to make sure you are leaving yourself enough headroom for mastering.
It’s a good idea to leave about 6db of headroom when talking about peak volume, or aim for -23 LUFS.
Here is my complete guide on how loud your mix and master should be.
However, if you find your mix is too quiet and you want to make it louder without causing things to clip or distort…
Then check out my article here on how to make your mix louder without clipping or distorting.
Another quick tip, make sure none of your individual plugins are clipping, as that can also degrade your sound quality.
4. Saturation Is Your Friend
Okay, now that we’ve made sure nothing is distorting, now we want to go and intentionally distort stuff.
Huh?
Remember how analog gear adds a pleasant-sounding “coloration” to a sound? Well that is because analog gear is”saturating” sound sources that travel through them.
In other words, analog gear adds subtle distortion to audio inherently do to its construction.
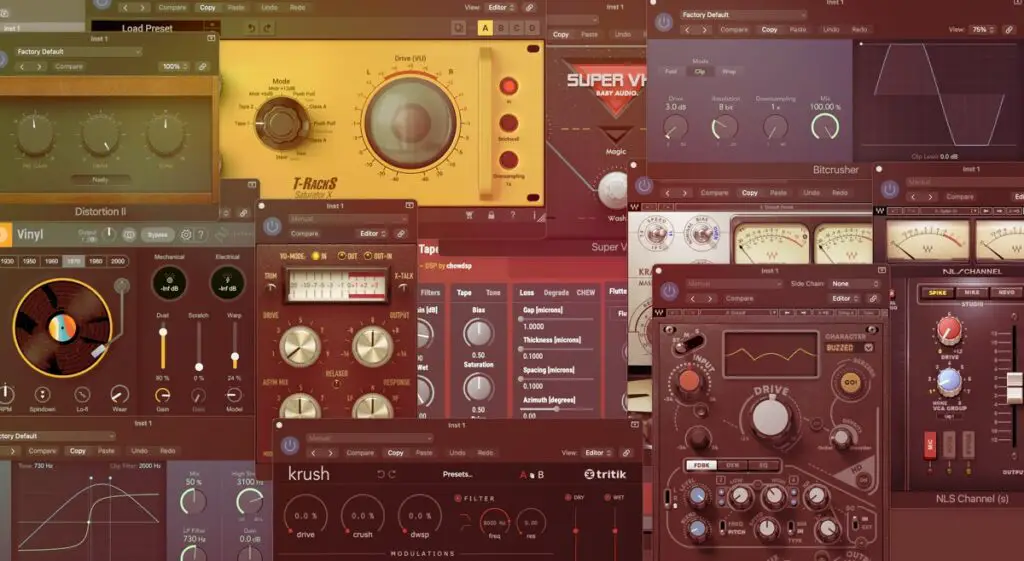
The good news is that there are tons of software plugins out there that are emulate analog gear and the saturation they add to sound.
You can use these plugins when mixing to add back some saturation to your tracks, and this will have the effect adding warmth, width, and simply bringing them to life.
I’ve heard one pro producer describe saturation as the key to getting that “expensive” sound.
5. Create A Mix Template
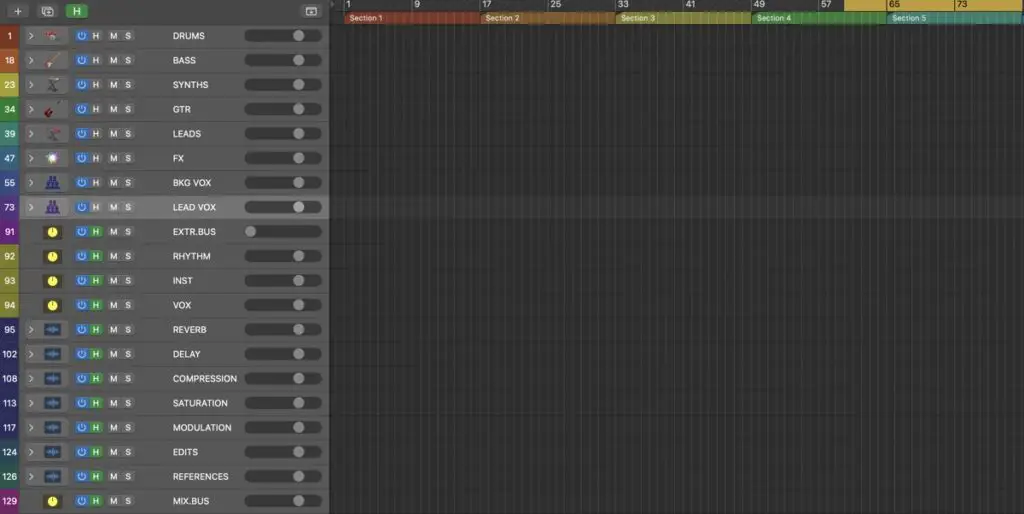
Finally, create a mix template for yourself to make all of this go faster.
Have effect sends and group buses set-up ahead of time so you can quickly mix your projects and finish more songs, faster.
In fact, if you’re looking to finish more radio-ready tracks, faster, then be sure to grab my free checklist below.
Create Better Songs, Faster
Click below to download my free song-finishing checklist to help you create radio-ready songs without taking months to complete them.
This will walk you through a proven mixing system so you never have to wonder what to next, or if you’ve missed anything.
I hope you got value from my post on what mixing in the box means, and how to do it.
If so, feel free to share, and let me know in the comments below…
What other questions do you have about mixing?
