You're making music and you've heard people throw around the term "mixing", but what does this really mean?
Mixing is the process of blending multiple sounds into one cohesive whole so that each sound can be heard, and the song as a whole sounds balanced and pleasant. During mixing, each track's frequency content, dynamics, and panoramic position are considered, adjusted, or enhanced.
I know, that's a mouthful, so with the rest of this article, I'll unpack what this really means, while also covering how mixing differs from its post-production counterpart, "mastering".
What Does "Mix A Song" Mean?
When you hear producers or others talk about mixing a song, what they are really talking about is adjusting each of the tracks in your song so that they sound good together, and like a cohesive whole...
Rather than just a bunch of disjointed performances.
There are several elements that can be adjusted to achieve this goal, such as:
- Balancing volume levels
- Frequency (cutting out or adding volume to certain frequencies in individual tracks)
- Panning tracks left and right to produce a stereo image
- Balancing the dynamics of tracks
- Adding effects like reverb, delay, and others
Overall, the goal of mixing is to take a bunch of recorded sounds and turn them into a great-sounding professional song.
If you're looking to mix your own songs and want a proven step-by-step mixing formula that can help you turn your songs from good to GREAT...
Without spending hours and hours tweaking and adjusting only to make things worse...

Create Better Songs, Faster
Click below to download my free song-finishing checklist to help you create radio-ready songs without taking months to complete them.
How Important Is Mixing A Song? Is Mixing Necessary?
Mixing is vitally important and extremely necessary to producing professional-quality songs.
Without mixing, songs would sound in-cohesive, and have sections that are too loud or too quiet, or even entire instruments that are impossible to hear.
Therefore, mixing is necessary to create a balanced, pleasant-sounding, song.
What Is The Difference Between Mixing And Mastering A Song?
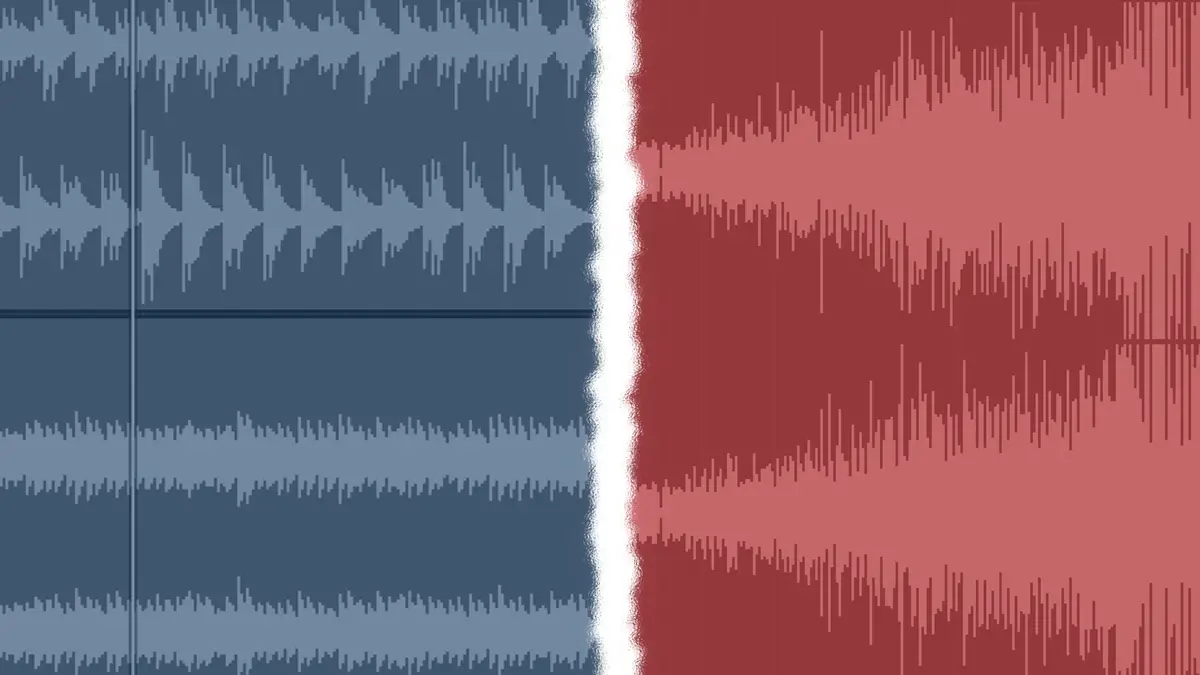
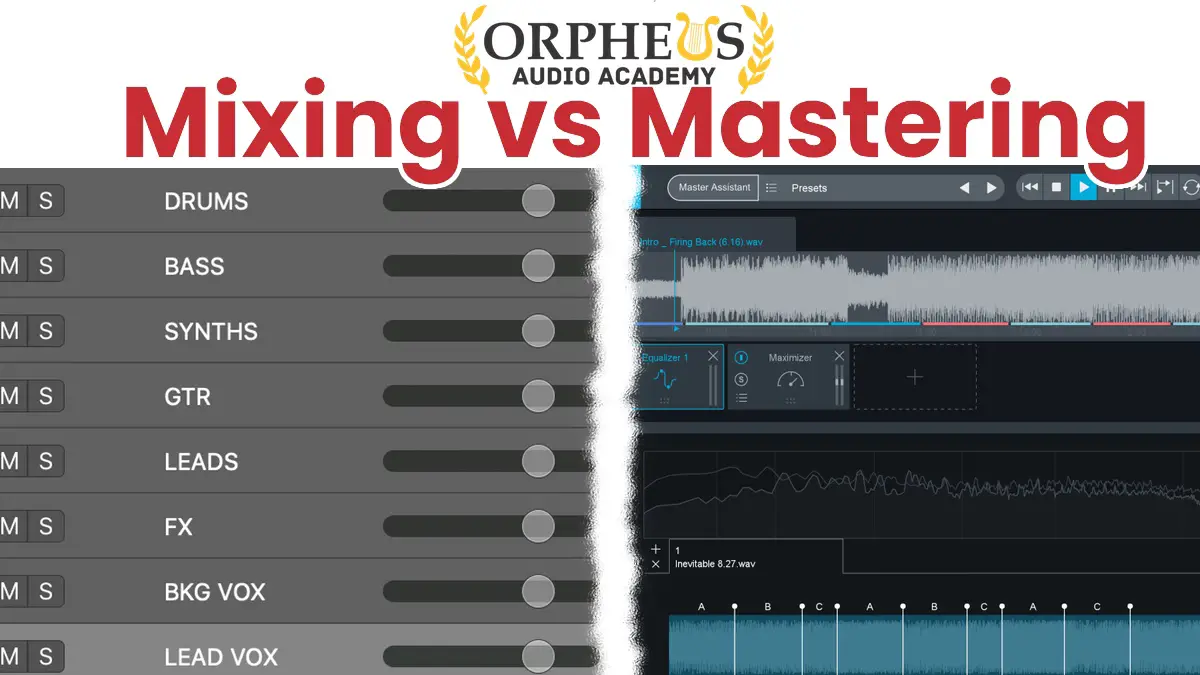
Mixing happens at the start of post-production, and involves sculpting and balancing all of the separate tracks in a session so that they sound cohesive when played together, while mastering involves making adjustments to a stereo mixdown of a song so that it meets professional recording standards.
With mixing, you are often making larger changes as you go about balancing all your tracks, such as drums, bass, vocals, and so on.
With mastering, you are making subtle enhancements or corrections to a single track, which is mix of all the tracks put together.
Mastering is the step that immediately follows mixing.
How To Mix A Song
While there are many ways to mix a song, but what I'll cover here is one proven strategy for creating professional, finished, mixes.
I'll cover the specific steps of mixing in a second, but first, I want to cover a specific mixing strategy that can save you tons of time.
Top Down Mixing
This strategy is known as "top down mixing" because you start at the top of your project (the mix bus), and then work your way down to mix the group buses, and then finally the individual tracks.
This strategy is great because it saves you a ton of time and allows you to make fewer edits because you start out by fixing the problems you hear with the entire mix before dialing on specific details.
Once you've applied your plugins to your mix bus and shaped your mix the best you can there, you then move onto your group buses.
This way, you can mix, say, your entire drum kit as a whole, before diving deeper and tweaking your kick, snare, and so on.
Bus processing is great because it can help you glue your instruments together so they sound punchy and cohesive.
Check out my article here on how to glue your tracks together.
Step 1: Organize Your Project

The first step in mixing is to organize your project, as this will make the process flow much more smoothly, and save time.
Saving time is crucial while mixing because the longer you spend mixing, the more your ears fatigue, and the less objective you become.
Labeling
One of the first things you'll want to do is label all of your tracks if you haven't already. This helps you know what everything is.
Grouping
The next step is grouping your similar tracks into buses.
For example, you might want a drum bus, a rhythm bus, a vocal bus, and so on.
Whatever sections you have that you want to treat as cohesive wholes, group them into buses.
Coloring
Next, it's a good idea to color your different sections as well, so you can easily recognize where your drums are, bass, leads, and so on.
Setting Up Sends
The final organization step you might want to take is setting up your effects sends ahead of time.
This involves setting up a few reverbs, delays, or whatever effects you think you might need when mixing.
Step 2: Edit Your Tracks
After organization, the next step is editing any tracks that need editing.
Editing involves adjusting timing, removing noise, and turning sounds that are out of tune.
Alignment & Timing
With alignment and timing, all you're doing is making sure all of your tracks are in sync, and fit the "grid" or tempo of your project.
There is some wiggle room here, especially if you're going for a more organic sound, but you at the very least want your instruments hitting on the downbeats of your track.
It's also key to have any tracks that are meant to be played together as one, aligned properly. This could include vocal harmonies. Make sure they hit and end at the same time with your lead vocals.
DeNoising & Removing Unwanted Sounds
Depending on your environment, you may have recorded some unwanted noise or sounds in your project.
It's a good idea to use deNoising tool like Waves Z-Noise, or something more robust and surgical like iZotope's RX.
If you decide to get Waves Z-Noise, you can actually get it for 10% off if you use my link here.
Tuning
Finally, tune any sounds (most likely vocals) that aren't in tune, and you're ready to start mixing.
Step 3: Control Your Tracks
The next step in the mixing process is to use "signal controllers". These are tools that shape the sound you currently have, but don't add anything extra effects.
Volume Balancing
When mixing, the first thing you'll do is adjust the volume of each instrument or sound so that each individual track sounds balanced with the others.
The quiet parts are quiet, but can still be heard, and the loud parts are loud, but not too loud that they drown out the other sounds.
Panning
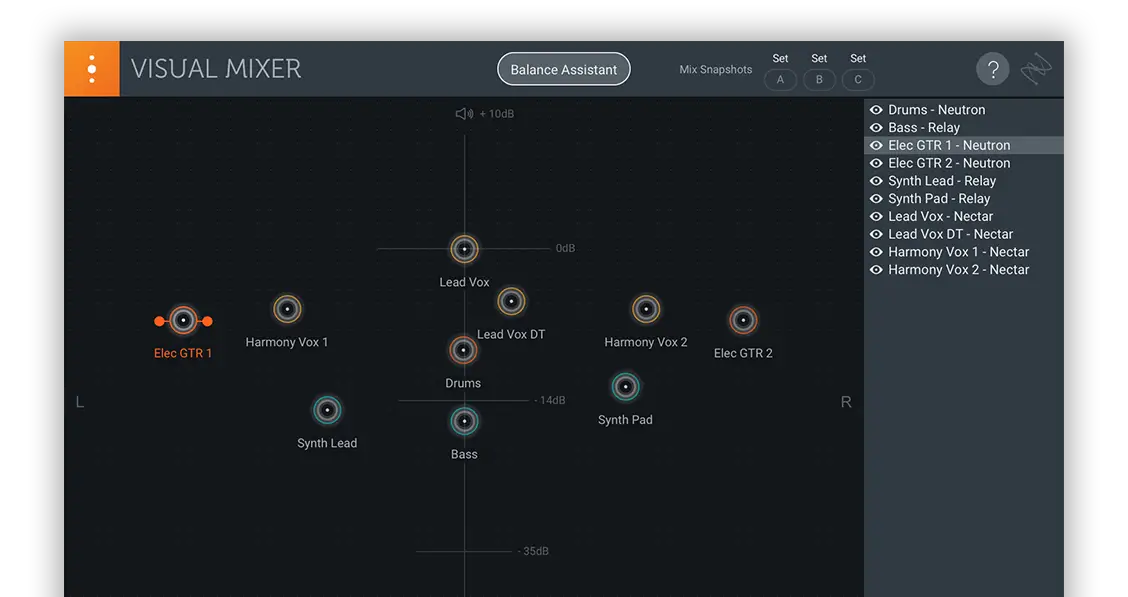
Next you have panning. Spread out your tracks across the stereo spectrum so that your song gains some nice width.
You'll want to pan just about everything except for your kick, bass, snare, and lead vocal, but there are are no real rules here, and you can do what fits for the song.
Panning is also a great way to help "unmask" certain sounds so that they can be heard.
Equalization (EQ)

Next we have equalization (or EQ).
What you want to do here is carve out any unwanted frequency ranges from your tracks, and ensure that each track has it's own little pocket in the frequency spectrum.
Lean heavily on cutting over boosting. Make sure everything has a space, and isn't fighting with something else. Hi-pass everything that doesn't need bass, and low-pass everything that doesn't need high-end.
Compression
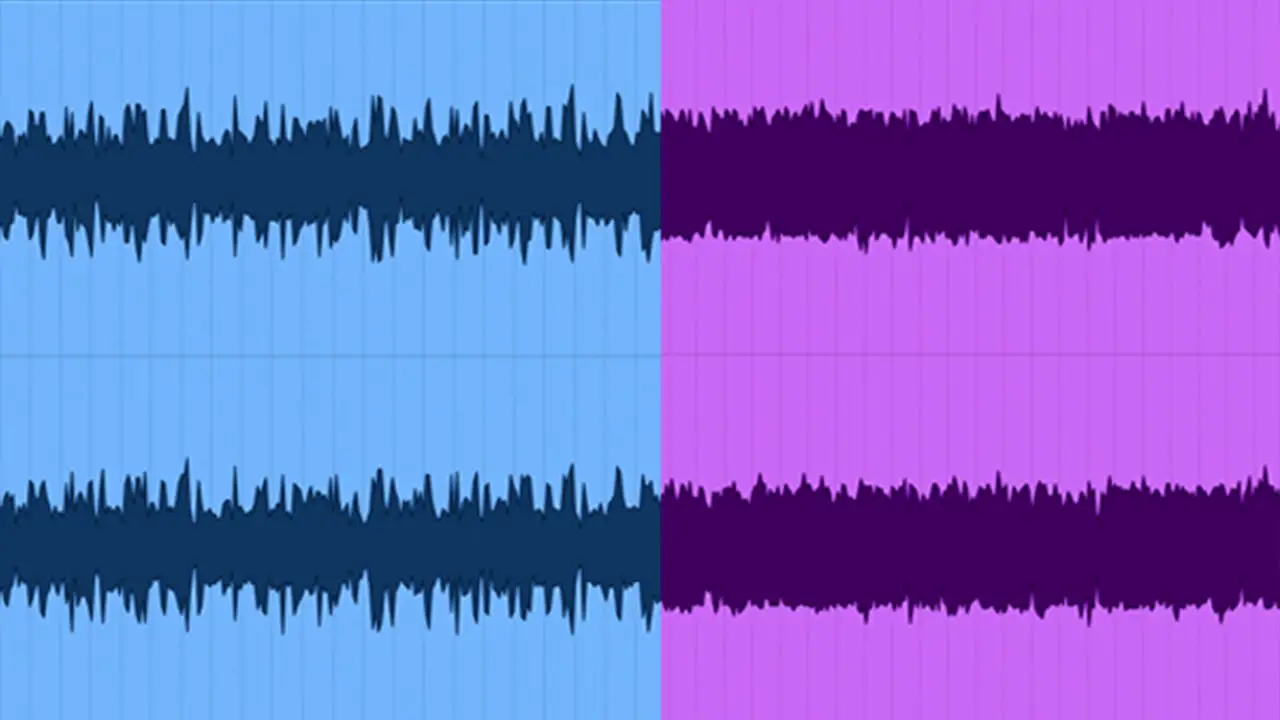
Compression is a vital next step in the mixing process, which involves balancing out the dynamics of your tracks.
Just about every track is going to need a compressor to ensure it sits well in the mix, although you don't necessarily need to compress everything.
If you want to learn when to, and when to not, compress, check out my article here.
For some sounds, like vocals you may want to use serial or cascading compression.
There are many types of compressors, and each has different strengths and weakness that make them good and not so good in certain situations.
If you want to learn about each type of compressor and when to use them, check out my article here.
Step 4: Effect Your Tracks
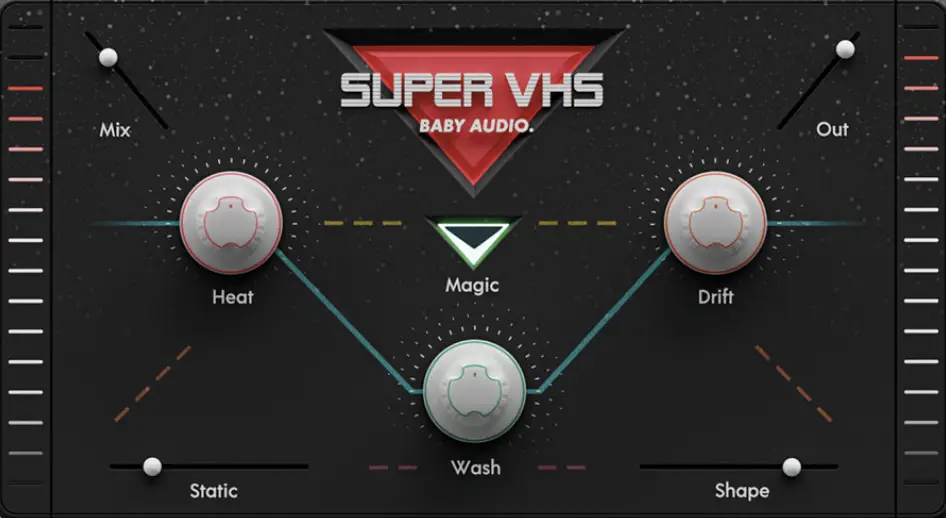
That covers all of our signal controllers, now it's time to add effects!
Saturation
Saturation is the process of adding extra harmonics to a sound in order to add warmth, or otherwise enhance the sound. When more extreme, this is what becomes known as "distortion".
Saturation is how you get a rich, warmer, and more professional sound, so experiment with throwing some saturation or distortion on your tracks and seeing how they sound.
Consider adding saturation to your tracks and see if it helps bring them to life.
Reverb
Reverb is another important effect that can help add depth and emotion to certain sounds.
The more reverb you put on something, the farther away it is going to sounds.
So you can use reverb strategically to add depth to your mix.
Delay
Delay is another fun effect that can be used simply to give a sense of space to a sound, or to make something sound more interesting.
Experiment here with what sounds good for you and your mix.
Step 5: Automation

Finally, complete your mix by using automation.
This is where you can add a lot of movement and excitement to your song.
Experimenting with automating volume, panning, and effects like reverb and delay. And of course, the ever popular filter automation when it comes to electronic music.
Finish More Songs, Faster!
If you're looking to mix your own songs and want a proven step-by-step mixing formula that can help you turn your songs from good to GREAT...

Create Better Songs, Faster
Click below to download my free song-finishing checklist to help you create radio-ready songs without taking months to complete them.
This checklist will walk you through a proven step-by-step mixing and mastering process so that you don't ever have to guess or wonder what to do next.
You'll know exactly what to do, and when, so you can quickly mix, master, and finish more tracks.
I hope you found this post valuable on what mixing is.
If so, feel free to share, and let me know in the comments below…

