Struggling to get your kick drum to punch through your mix?
Or simply wondering what the best way is to EQ a kick drum?
In this article, I'll show you how to easily EQ your kick drum in 3 simple steps...
Start with inverting the bass and/or sub-bass frequencies in the kick drum with whichever instrument is playing the bass in your song. Also consider cutting in 200-500hz range to remove mud and boxiness. Finally, consider boosting between 4kHz-10kHz for added clarity and click.
Keep reading if you want to see how exactly to achieve these three steps...
And also learn some bonus things you can do to make your kick drum shine.
Create Better Songs, Faster
Click below to download my free song-finishing checklist to help you create radio-ready songs without taking months to complete them.
1. Invert The Bass With The Kick
The biggest nemesis of your kick is your bass, because they both occupy the same space frequency-wise.
To make your bass and kick work together, you may want to consider inverting your bass and kick in terms of frequency and/or volume.
Inverting Frequency
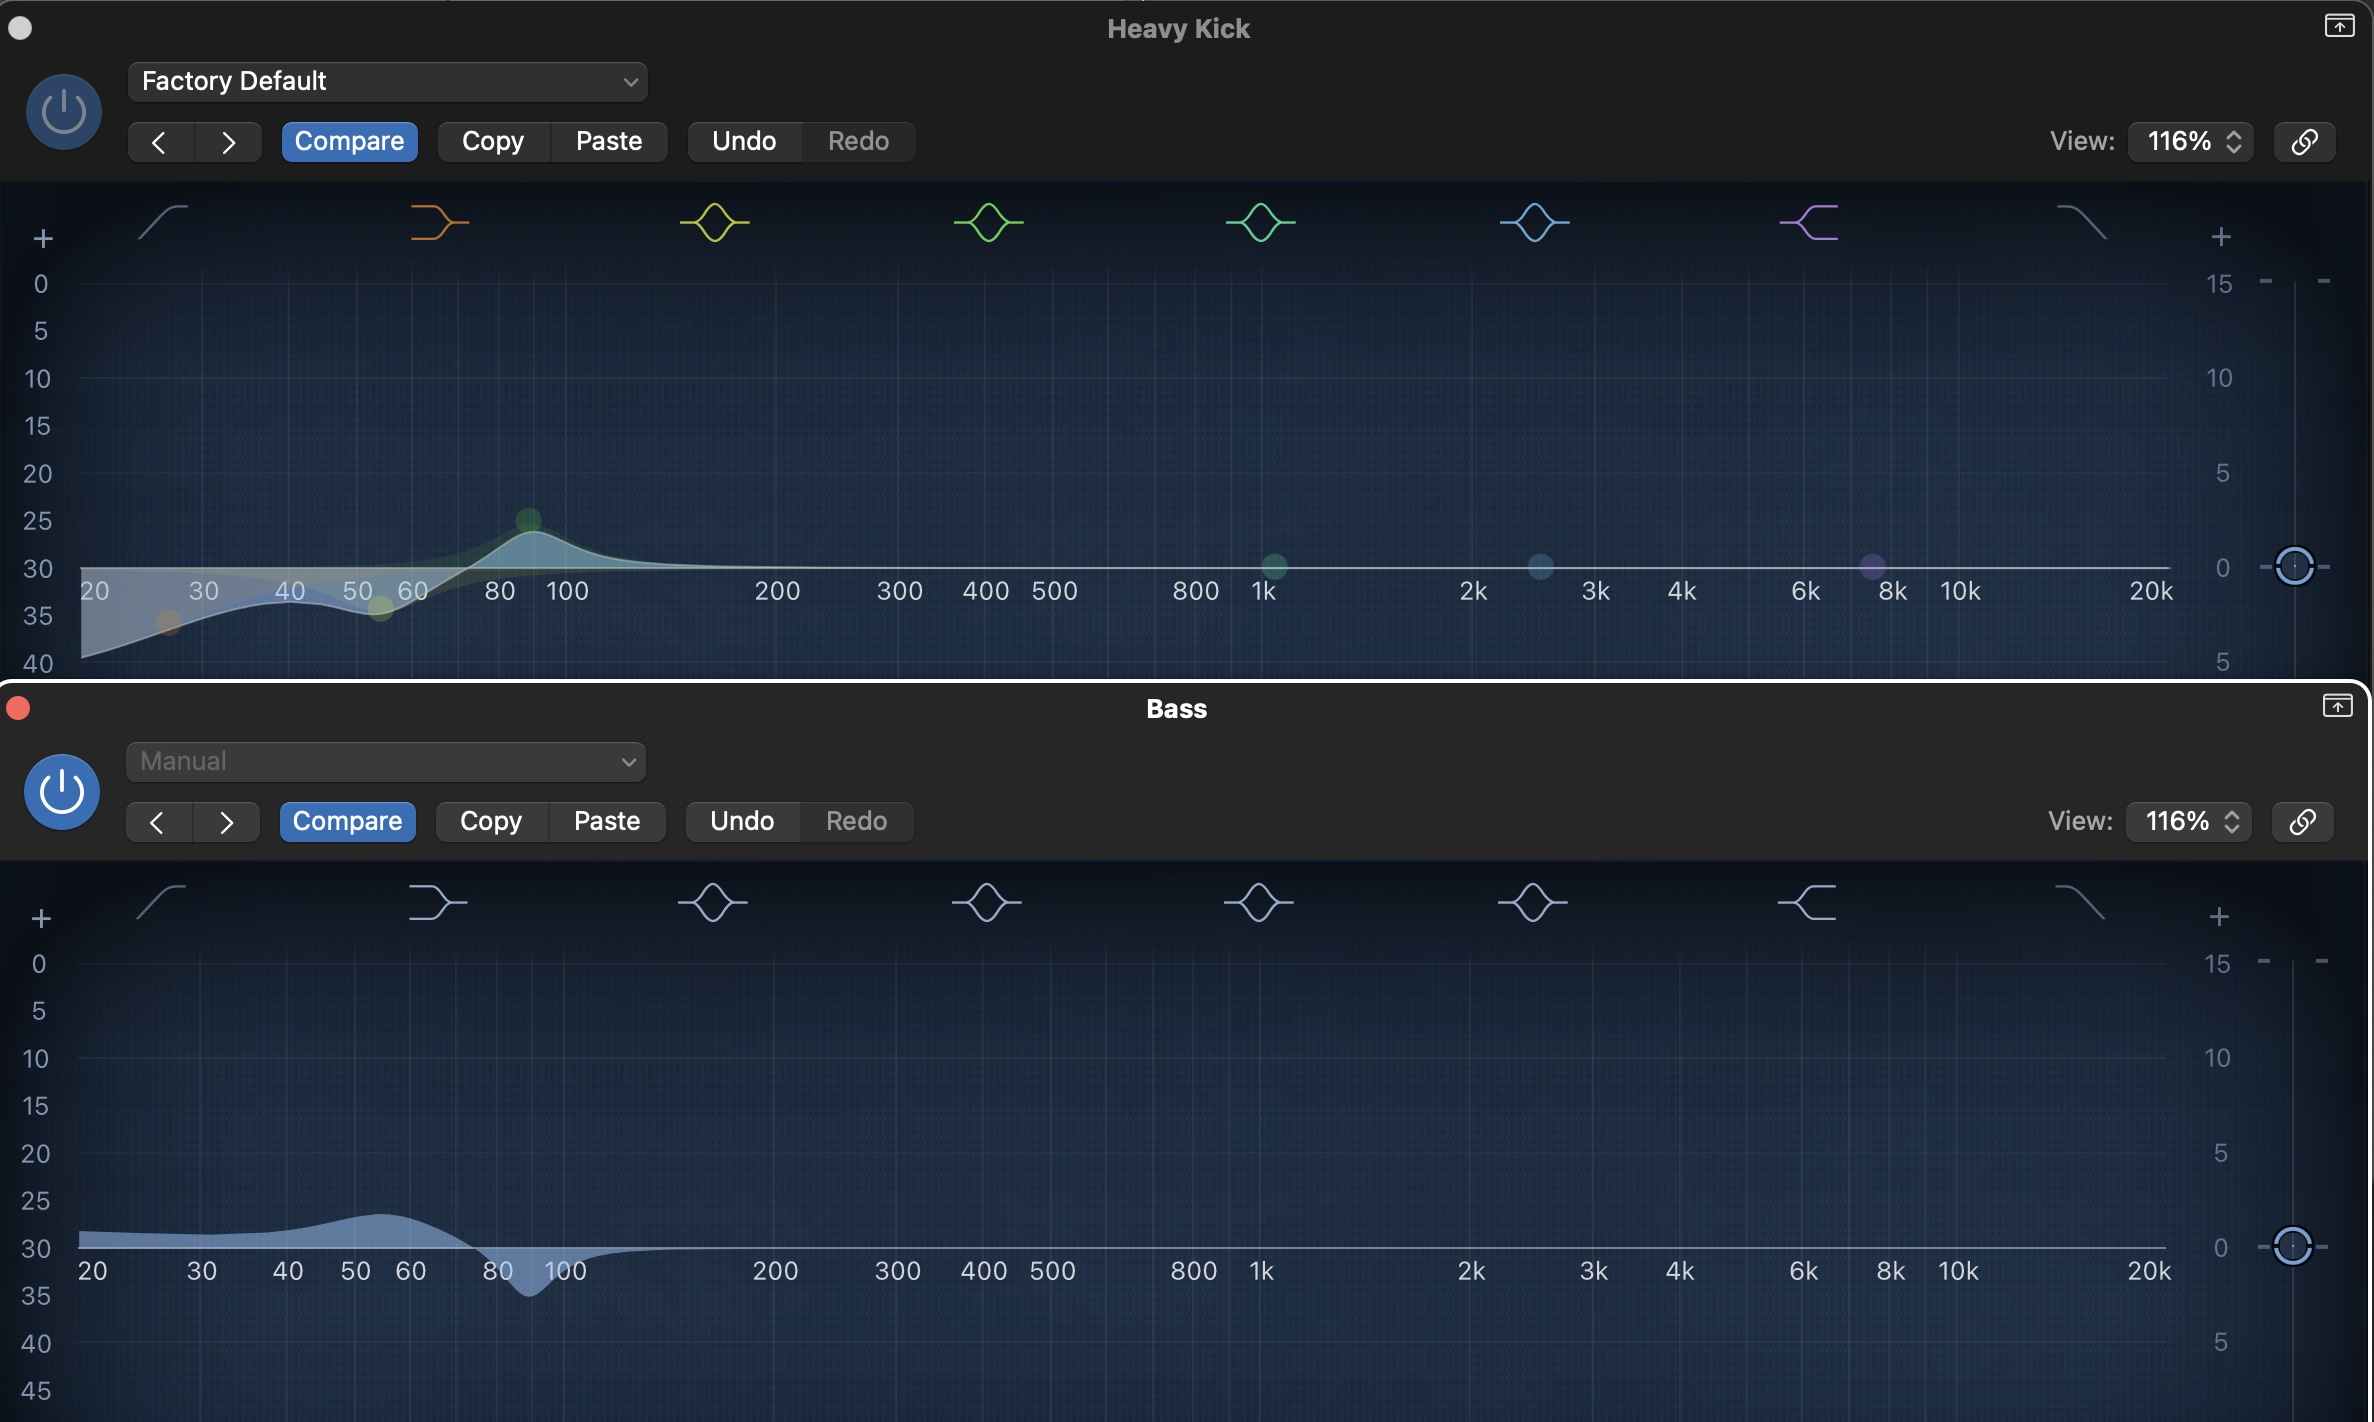
To invert your kick and bass, determine which instrument will occupy the sub-bass range of your track, and which will occupy the bass frequency range.
If you're not quite sure what I'm talking about, refer to the frequency spectrum chart below.
Sub-bass is in the 20-50Hz range, whereas your bass occupies approximately 50Hz up to 300Hz.
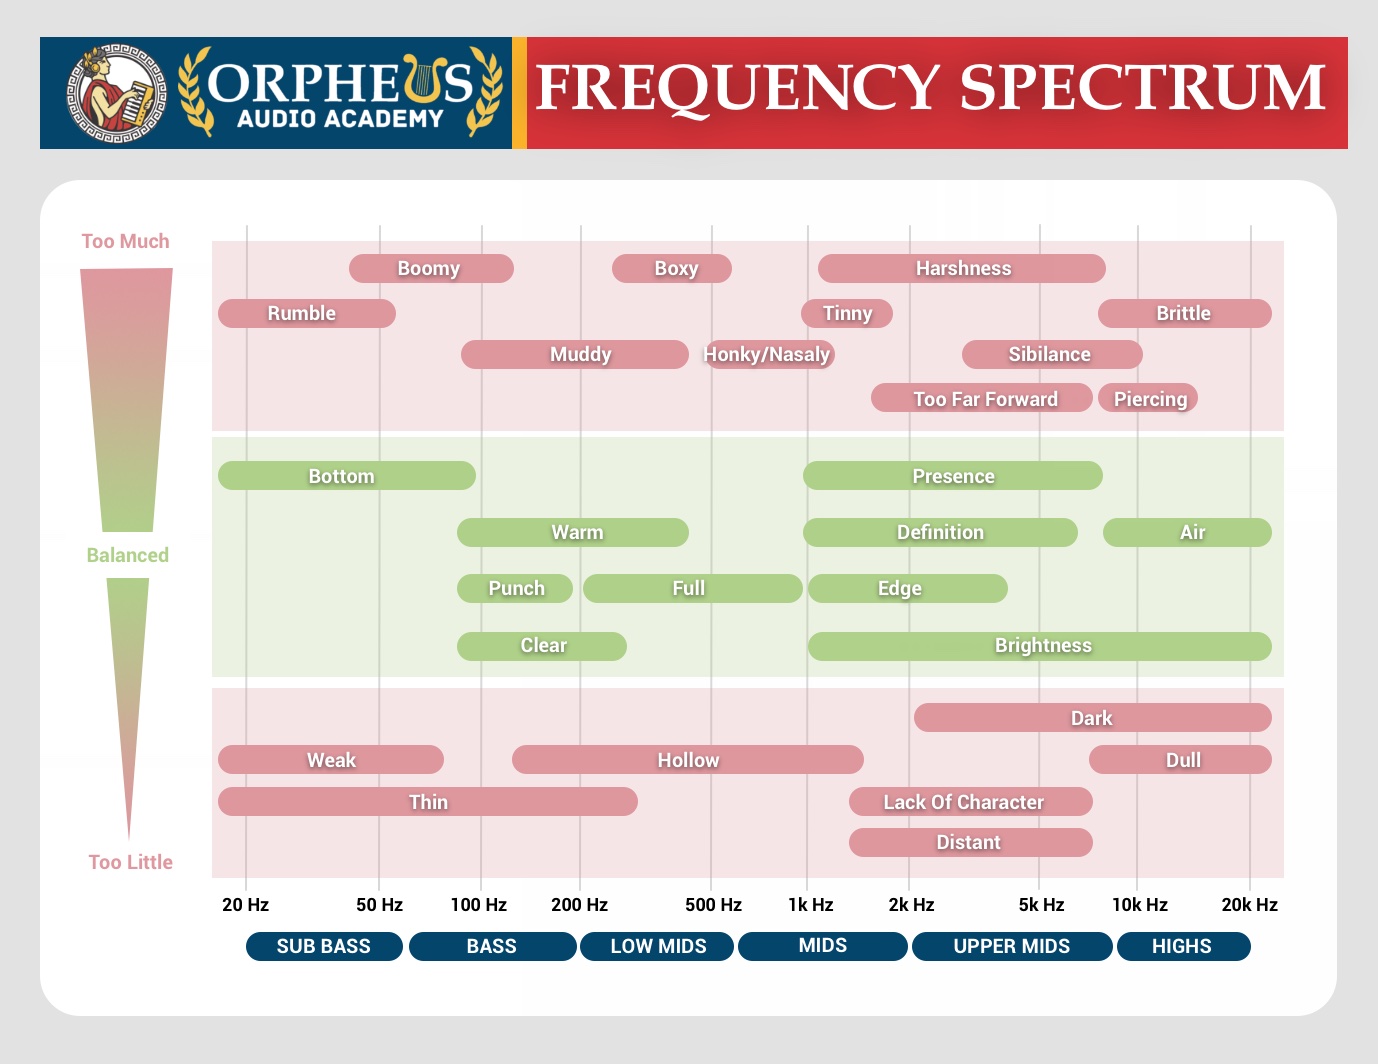
So decide which instrument will go where in your frequency spectrum. Will your kick take the sub-bass range, or will your bass?
Once you make this decision, you can cut the bass where you are wanting the low-end of your kick to sit, and cut your kick where you want your bass to sit.
This will allow both your bass and kick to shine through your mix.
Inverting Volume
You can also invert the volume of your bass and kick so that when the kick comes in, the volume of your bass turns down.
You can easily set this up with side-chain compression.
If you want to see how to set this up (video tutorial included) just check out my article here.
That said, most beginners only focus on the low end when EQing a kick. However, it is also important to consider the low-mids and top end of a kick drum.
2. Remove Boxiness
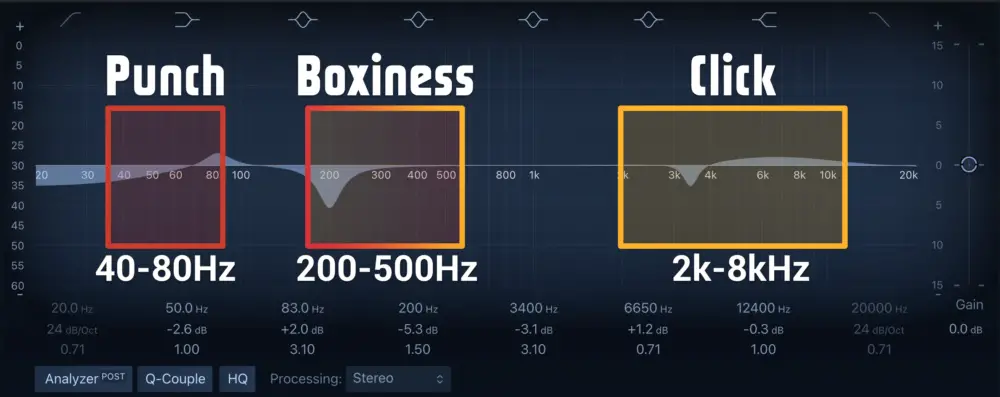
A kick drum can often sound boxy as low-mid frequencies build up.
Using an EQ cut in the 200 to 500 Hz range will help you reduce the boxiness, and add clarity to the low-end thump and high-end beater attack.
To reduce boxiness, use a parametric EQ with a narrow bell curve to boost the low-mid frequencies in the 200-500 Hz range. Locate the nastiest-sounding muddy/boxy frequencies, and then cut these out.
By using this technique, you can easily fix a boxy kick drum without having to spend hours on it.
3. Increase Clarity
Simply by cutting out the muddy, boxy low-mids, and the bass frequencies where the bass sits, you will improve the clarity of your kick drum.
However, if you still feel it's lacking, and you're seeking a punchier, more "clicky" kick sound, then you can boost some of the higher frequencies in the 4kHz to 10kHz range.
Depending on your kick sound, you may also find some harshness in the 3kHz range that you can cut.
Bonus
If, after EQ, you find your kick still isn't sounding how you want it too, here are some bonus techniques you can apply for a rich, deep, punchy kick.
Bonus Technique #1: Add Harmonics

Adding harmonics involves adding in additional frequencies to your kick drum that didn't previously exist.
By adding in extra harmonic frequencies, you can help the kick drum to cut through the mix and sound better in smaller speakers.
You'll need to use a plugin to do this, a couple of great ones are:
- Waves Renaissance Bass
- Waves Scheps Parallel Particles
- Waves Vitamin
Bonus Technique #2: Add Saturation To The Top End
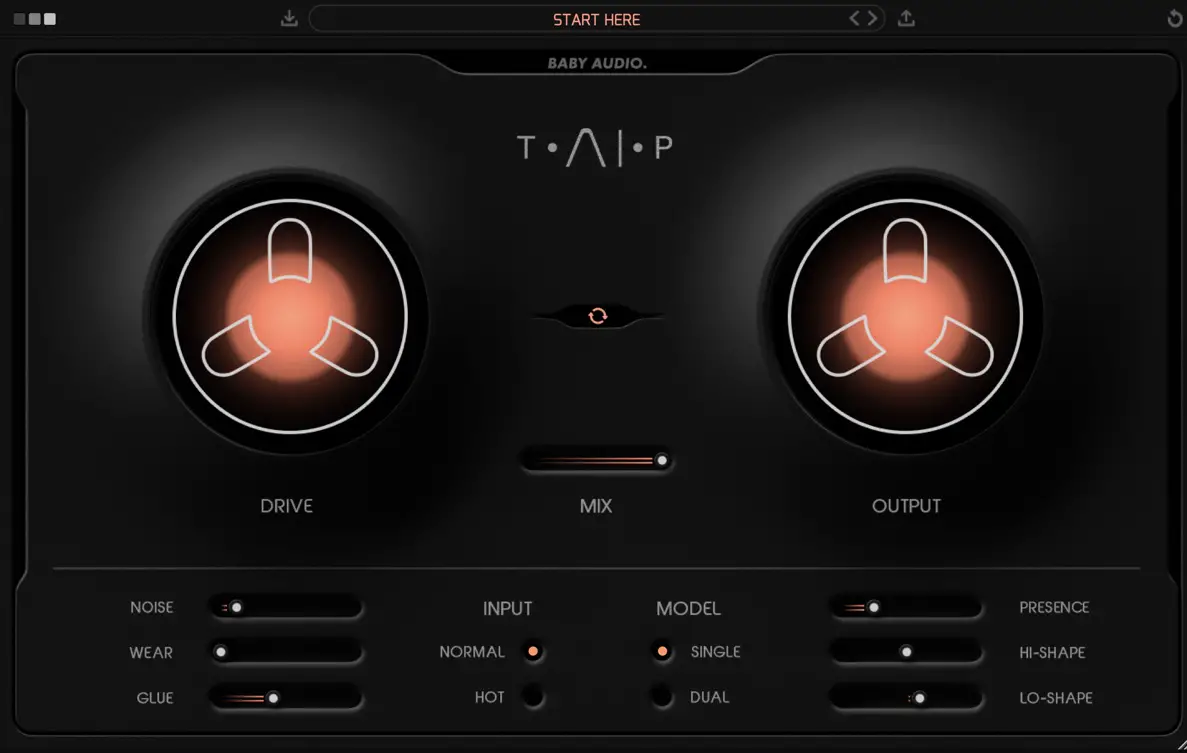
Adding saturation to a kick drum can help it sound more defined and separated. It also adds harmonic content, making it more responsive to further processing.
Saturation is best applied before subtractive EQ or after additive EQ. This will eliminate noise and unwanted low-level signals and make the kick respond better to the effects of the EQ.
A great tape saturation plugin for this is Baby Audio's TAIP, which is an A.I. powered tape saturation plugin.
It's very easy to use, and also lets you dial in your tape saturation by frequency, as you can choose to only apply saturation to the top end of your track if you wish, which is great for kick drums.
You can check out my video review below...
Get TAIP At A Discount
You can get 10% off any Baby Audio plugin when you use my code "OAA" at checkout.
Bonus Technique #3: Add Compression
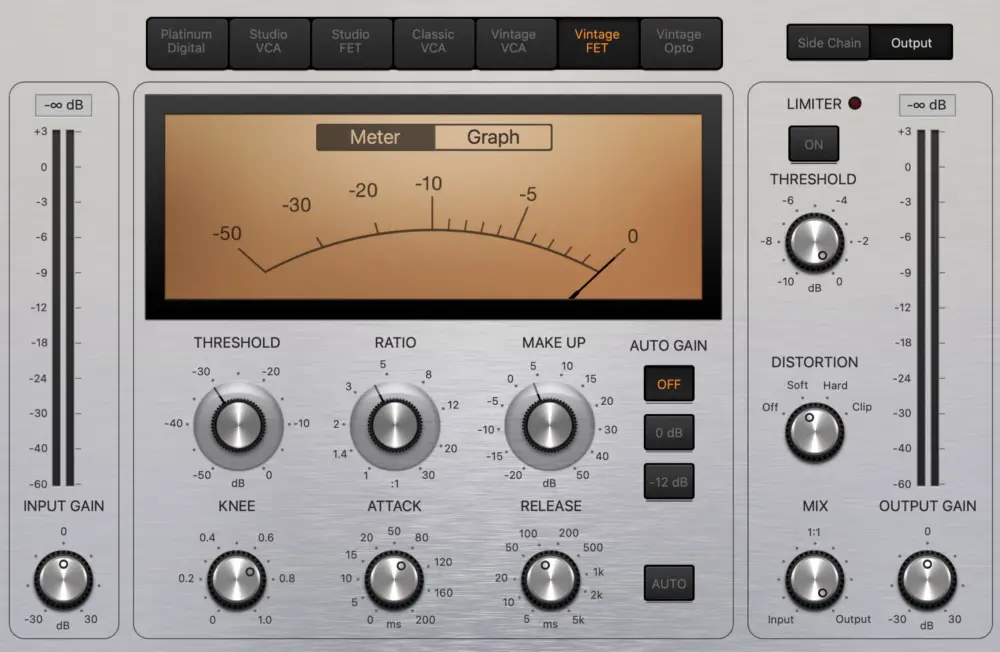
Adding compression can help to give the kick extra energy and punch.
Your exact compression settings will depend on the genre and the sound you're going for, so consider grabbing a compressor and trying out some presets for kick drums.
From there, tweak your settings and aim for 2-5db of gain reduction on the VU meter.
Adjust your output setting to compensate for any loss in volume.
Bonus Technique #4: Add Parallel Processing
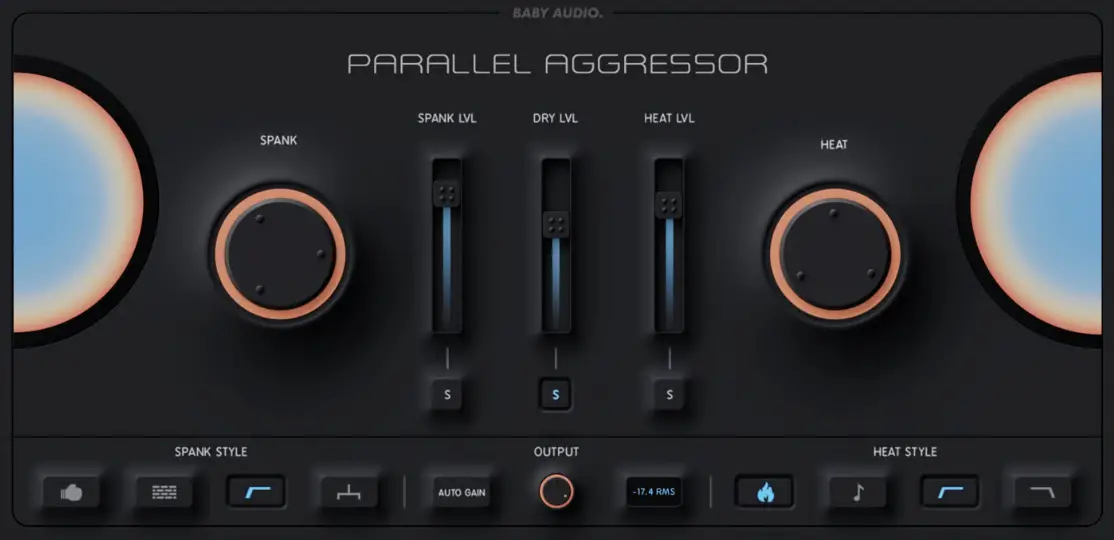
Parallel processing is another fantastic technique for adding punch. Parallel processing involves blending a dry (unprocessed) version of your track with a heavily processed version.
You can add parallel EQ, compression, saturation, or a combination of all three to enhance your kick.
Simply set up an aux track and send your kick drum to it. Add some extreme compression, EQ, or saturation to the aux track, and then blend it in with the unprocessed track to taste.
Or, a great plugin for this is Baby Audio's Parallel Aggressor, which allows you to easily add parallel compression and saturation to your tracks simply by loading up the plugin as an insert effect.
Check out my video below to hear this plugin in action.
Get Parallel Aggressor At A Discount
You can get 10% off any Baby Audio plugin when you use my code "OAA" at checkout.
Finish More Radio-Worthy Songs, Faster!
Recording clean vocals is just one piece of the puzzle when it comes to producing pro-quality songs.
If you want a proven step-by-step formula for mixing radio-worthy tracks from start-to-finish...
This checklist will walk you through a proven step-by-step mixing and mastering process so that you don't ever have to guess or wonder what to do next.
You'll know exactly what to do, and when, so you can quickly mix, master, and finish more tracks.
Create Pro-Mixes, Faster
Click below to download my free song-finishing checklist to help you create radio-ready songs without taking months to complete them.
Next Steps
Getting a punchy kick drum is only one small part of the mixing process.
If you want to check out my complete guide to mixing an entire song, click here.
I hope you found this post valuable on how to EQ a kick drum.
If so, feel free to share, and let me know in the comments below…

