Have you wanted to improve the quality of your home recording studio, but haven't been sure how?
Most beginners will throw up some foam and maybe some bass traps and call it a day. But a whole lot more goes into building a professional-quality recording studio than that.
In order to build a professional-quality home recording studio, you need to build a "room within a room" with no parallel surfaces. This means building a new floor, ceiling, and walls on top of what's existing in order to cut down on vibration, standing waves, and excessive transmission and reflection of sound waves.
Yeah, that's a mouthful. Let's break it down...
What Is Needed For a Home Studio?
What is needed for a home studio really depends on your budget, and how serious you are about making professional-quality productions.
I wanted to learn what it took to make a professional-quality studio, so I decided to visit my friend, Anthony Iannucci, a master when it comes to audio engineering and production, and also the owner of a commercial recording studio, Unity Gain in Fort Myers, Florida.

Anthony Iannucci
Owner, Unity Gain Recording Studio
In October of 1984, Mr. Iannucci started to teach audio recording, and has been involved in audio recording and production ever since. His unique approach to teaching along with his knowledge and experience in the multitrack recording field have proven his techniques effective in providing each student with a clear understanding of all topics covered throughout the program.
But before I dive into what it takes to make a professional studio, let me quickly cover the bare bones of what is needed to get started recording and producing music from home.
What Is Needed For A Beginner Studio?
The beginner studio really isn't a studio at all, but just the necessary tools to record music.
I cover how to build a beginner studio for under $350 in my article below.
But in a nutshell, the beginner studio needs:
What Is Needed For A Professional Home Studio?
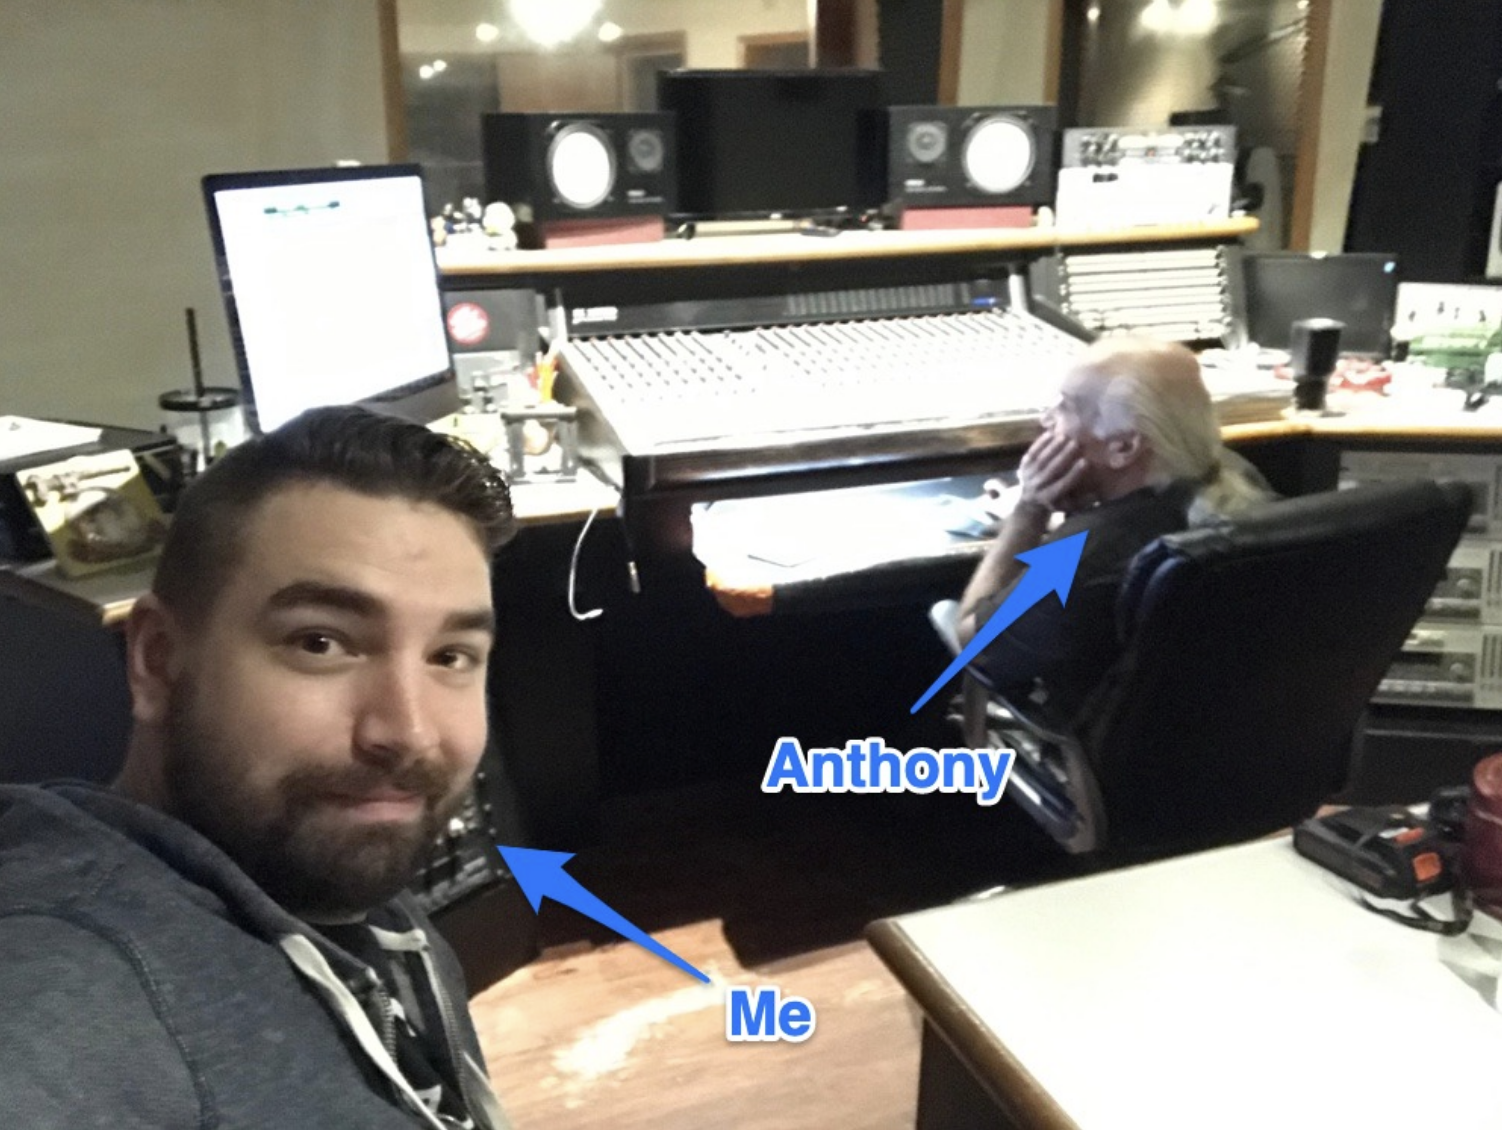
Like I said above, I wanted to learn from an expert, so I stopped by Unity Gain Recording Studio to ask Anthony about how one should go about building a home recording studio.
He pointed out to me 5 key steps, which I'll cover below:
1. Soundproof your room as necessary
The first thing would be your soundproofing considerations. Are you concerned about having sound from the inside go out, or outside come in? And then you'd make the appropriate sound barriers to prevent that.
- Anthony Iannucci: Unity Gain
You don't need a completely soundproof room, but you do need to consider this as your first step.
If you're in an apartment or an area where there are sound ordinances, or neighbors who could complain about the sound level, then you need to make sure you do some soundproofing.
Basic Soundproofing Strategies
If soundproofing isn't a major concern for you, then you can just take some basic measures by strengthening the weakest points in your room (windows and door ways).
Windows and door ways are going to be the areas that allow the most sound leakage.
Doors
Doors are weak points because of the gaps they leave between the bottom of the door and the floor, and all around the sides of the door.
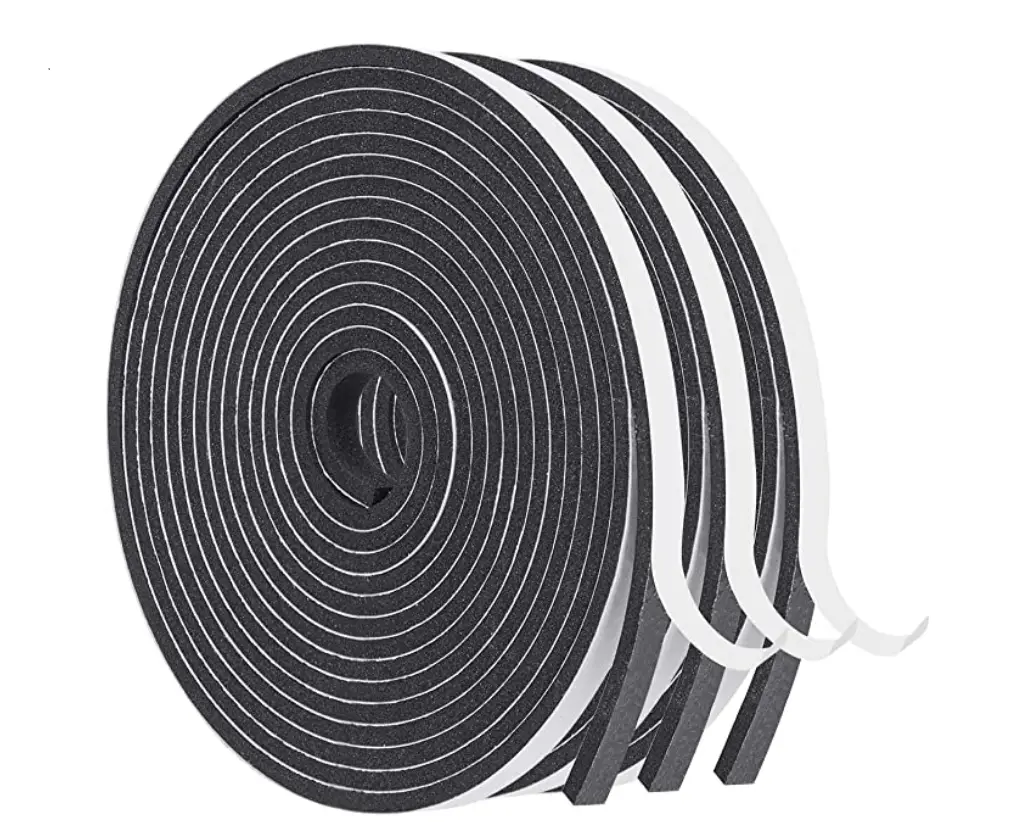
You can seal these gaps up with some adhesive foam strips.
Windows
Windows are are weak points because glass allows sound to both pass through and bounce off quite easily.
Lower frequencies are going to pass through, and high frequencies are going to bounce off back into the room.
You can temporarily seal windows by cutting out a block of foam and fitting over the window.
2. Acquire The Necessary Equipment
The second thing would be your equipment needs. Are you doing voiceover work? Are you doing full band work? Are you doing programming? Then you have to get the appropriate equipment. And that opens Pandora's Box because there are so many things between patch bays and components and compressors and special effect processors. Luckily, a lot of the software programs have a lot of that stuff contained in it. So a good computer with some good software programs contained in it will definitely get you going. If you're going to go with acoustic sounds, then your major consideration would be your microphones and the space in which you put the performer in.
- Anthony Iannucci: Unity Gain
Once you have your needed soundproofing done, the next step is to acquire the equipment you need.
This involves:
My Gear Recommendation List
3. Cover Your Basic Electrical Needs
Are you on the same electric circuit as the stove, or on something like your AC unit which can create brown outs momentarily. Not only does it impact your equipment but it increases the noise level of your recordings.
- Anthony Iannucci: Unity Gain
Anthony suggests having all of your studio equipment run on it's own separate electrical circuit from the rest of the house.
I don't know about you, but that sounds pretty advanced, and difficult to achieve.
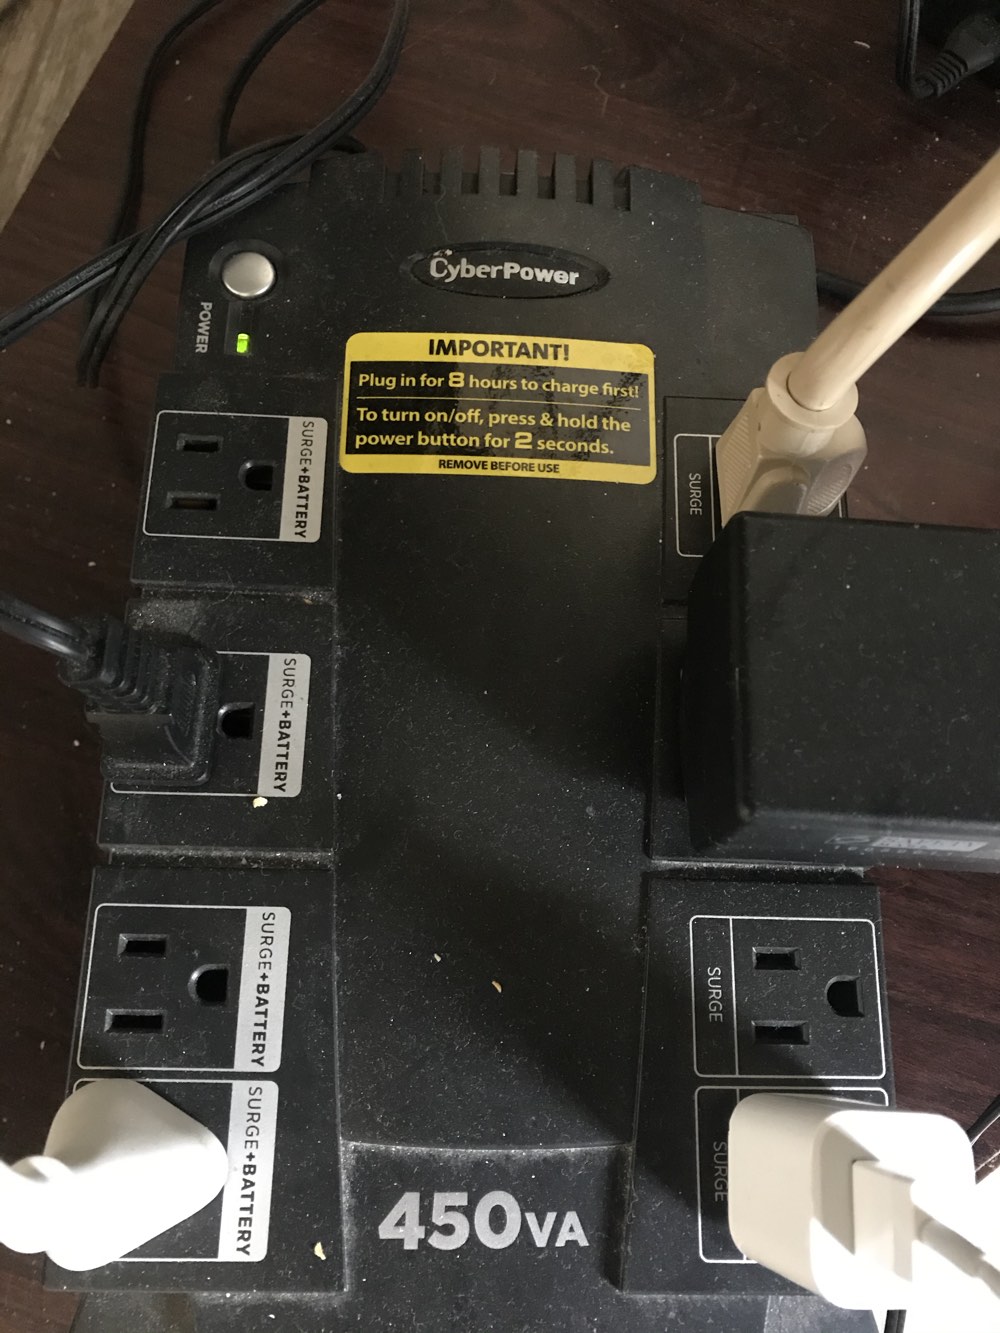
But what you can, and definitely SHOULD do, is get a surge protector and backup battery for your computer and equipment.
This is vital, not only for ensuring you don't lose your progress if you lose power in the middle of production, but also to prevent your equipment or computer from getting damaged or destroyed.
I use a CyberPower 450va, and it's saved me numerous times.
4. Acoustically Treat Your Room to make it as "balanced" as possible
When you mix, you've got to mix with a balanced room in mind, or with Fletcher Munson in mind, at a certain level, knowing that your environment is not changing what you perceive. Because there is nothing worse than it sounding great in your room and then you bring it outside and it sounds like trash. We all know that feeling.
- Anthony Iannucci: Unity Gain
What Anthony is saying here is that you want the most accurate listening environment as possible.
First, you need to listen at the right volume level because of the "Fletcher Munson Curve", which I explain in my post here.
Second, you want your room to generate as even a response at all frequency ranges as possible.
You don't want your room to be losing bass so that you over compensate and add too much bass to your mix.
Or, you don't want your room to be adding too much treble so that you cut too much, leaving your mix dull and life-less.
Your room impacts what you hear, and therefore, your mixing decisions.
If you have a poorly treated room, then you're going to run into the problem Anthony ruefully describes above...your mixes will sound like trash outside of your room.
This is where acoustic treatment comes in.
What Is Acoustic Treatment?

Acoustic Treatment
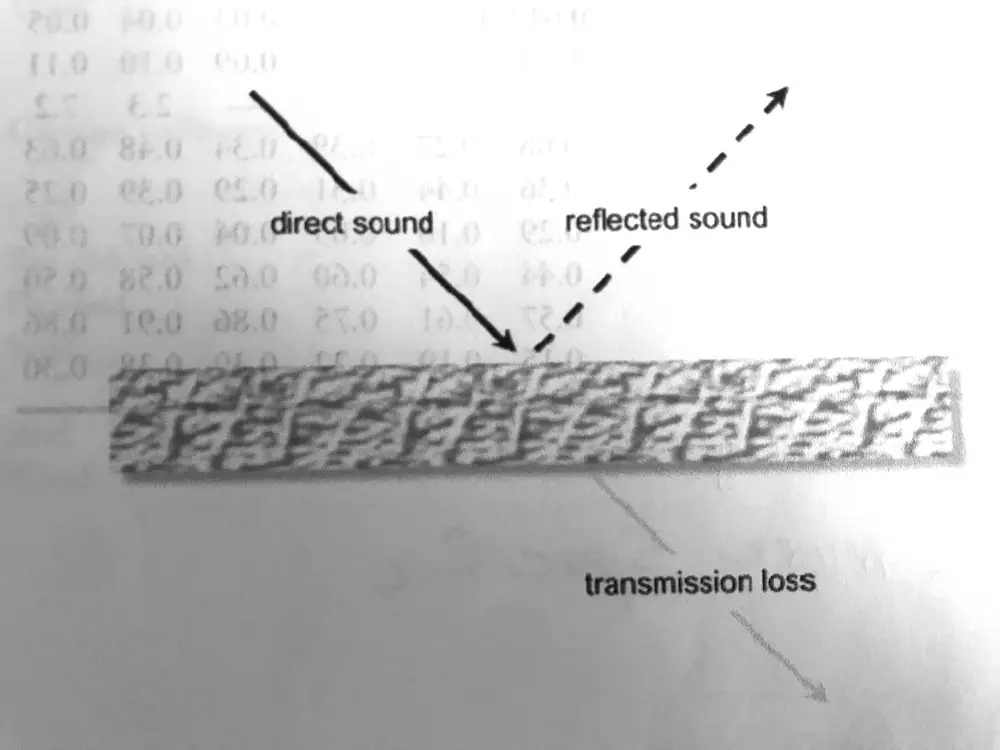
Acoustic treatment is the process of reducing the reflection and transmission of sound as to create an ideal environment for recording and mixing music. The goal is to create a well-balanced room so that your perception of what you're hearing is accurate.
You want to acoustically treat your room so that "what you hear is what you get". In other words, when you make mixing decisions, you want them to be accurate ones.
There are three elements to acoustic treatment: Reflection, Absorption, and Transmission.
Reflection
Reflections are sounds that bounce off of surfaces in your room and are sent back into the room.
These are going to be your higher frequency sounds. You can think of them like a bouncy ball. When you throw it against the wall, it immediately starts bouncing all over the place.
You don't want a lot of sounds bouncing around, so you'll want to use absorptive materials to eliminate reflections.
Absorption
This is when sound waves are actually absorbed by a surface. Mid range sounds will absorb more easily.
Think of them like a deflated volley ball. When you throw it at the wall, most of the energy is absorbed by the wall, and the ball just flops to the ground.
Therefore, you don't want TOO much absorption. You still want there to be some "life" in the room.
Transmission
This is when sound waves actually travel all the way through a surface.
This is going to be your bass sounds. You've heard this frequently if you've ever heard music playing when walking by a building, or when someone pulls up to you at a stop light.
You hear the music, but really only the bass section.
This is because low frequency sounds are like a bowling ball. You throw that at the wall, and it's just going to punch right through.
Bass is a killer, man. Bass is one of the hardest things to manage. As you pull up to a traffic light, you'll realize that. Your stuff's rattling from them!
- Anthony Iannucci: Unity Gain
Like Anthony says, bass is going to one of the hardest things to manage.
So you're going to want to put serious consideration toward how you can absorb bass, and prevent transmission loss.
But just how do you do that?
The key is creating a "room within a room".
A room within a room is your ideal room. That's your goal, beginner or advanced. However close you can get to that with whatever funds and resources you have. Think of reflection, absorption, and transmission of every surface that you have and that will determine what you really need.
- Anthony Iannucci: Unity Gain
Sound needs a "medium" to exist. Sound has to travel through something in order for us to hear it. It's why there is no sound in space, because space is a vacuum.
Vibration is what conducts sound. So when sound hits the walls of your room, it's going to cause vibrations which then travel through the wall to the room.
It's why if you want to hear what someone is saying in the other room, you'll put your ear up to the wall. You may even use a cup to help collect more of those vibrations in order to funnel them to your ear.

So by building a room within a room, and placing some air between your interior walls and the exterior, you are going to help to absorb a lot of that sound energy.
Air is less dense than any other type of substance you would use, and that's why it's actually the best insulator for sound.
How To Create A "Room Within A Room"
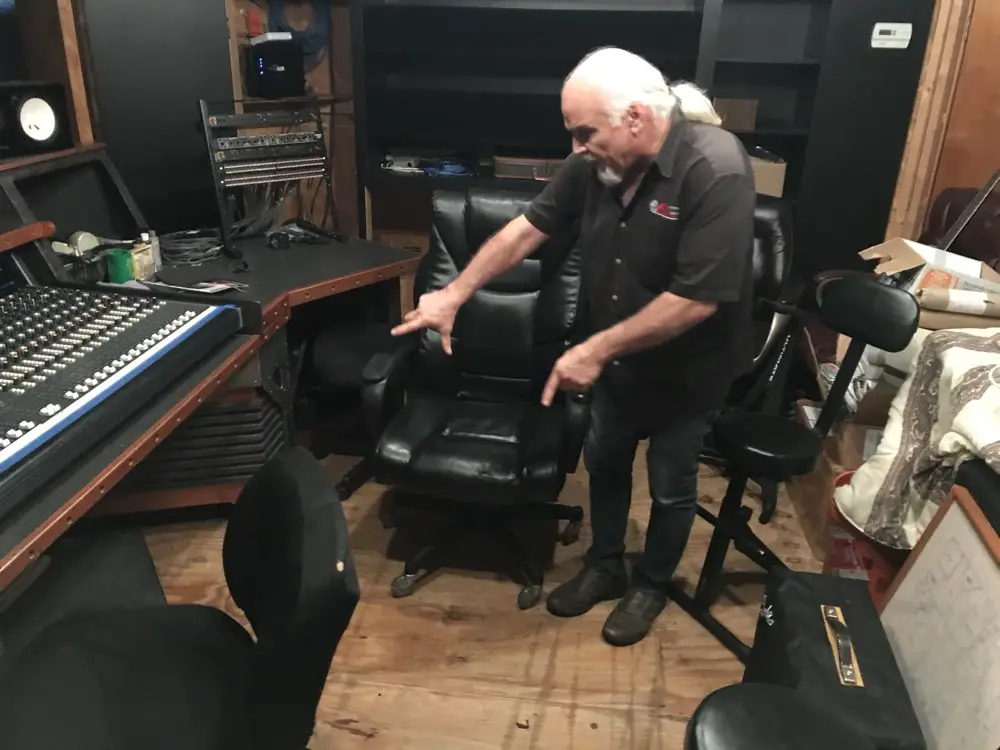
Anthony pointing out to me how he has cables running underneath the elevated floor which run to the producer's desk.
This is a very complex process, and one I'll have to cover more in depth after I go through the process myself.
However, it involves building your own floor, walls, and ceiling inside the room. A key to this is also making sure no two surfaces in the room are parallel to each other to prevent standing waves which cause sounds to cancel each other out.
What Are the best materials for absorbing sound?
You can determine which are the best materials for absorbing sound by looking at their NRC.
NRC (Noise Reduction Coefficient) measures the amount of energy absorbed when it strikes a particular surface – in other words, how well something absorbs sound within a given space.
The higher the number, the better the material is at absorption.
So what are the absorption coefficients for various materials?
Anthony Iannucci did some research and came up with the following table of coefficient ratings at various frequency ranges.
Absorption Coefficients for Various Materials:
Material | 125 | 500 | 1k | 2k | 4k |
|---|---|---|---|---|---|
Brick, unglazed | 0.03 | 0.03 | 0.04 | 0.05 | 0.07 |
Carpet (heavy, on concrete) | 0.02 | 0.14 | 0.37 | 0.60 | 0.65 |
Wood | 0.15 | 0.10 | 0.07 | 0.06 | 0.07 |
Plywood (3/8 inch) | 0.28 | 0.17 | 0.09 | 0.10 | 0.11 |
Glass, ordinary window | 0.35 | 0.18 | 0.12 | 0.07 | 0.04 |
Air (sabins/1k ft cubed) | - | - | - | 2.3 | 7.2 |
Concrete block, coarse | 0.36 | 0.31 | 0.29 | 0.39 | 0.25 |
Keep In Mind How Sound Will Travel In Your Room
How sound will travel in your room will determine where you put your acoustic treatment.
Draw an imaginary line, or use a laser pointer, from your speakers to where the sound will hit on the walls of your room in order to determine where you should put some absorption.
5. Evaluate Your Room With Pink Noise
Finally, you can evaluate your room with a pink noise generator.
IKMultimedia has a great program called the ARC System 3 that can help you do this.
It gives you an ultra-accurate measurement microphone, analysis software, and a correction plug-in to improve the accuracy of your monitoring in any room.
With this system, you can actually measure the frequency response of your room, and see how your room is impacting what you hear. You can see if you are losing bass, or have too much high end, and then correct it.
Conclusion:
I'd rather you put in something half-as-good that you're going to build on than something that is sufficient for what you want to do but are going to have to replace later.
- Anthony Iannucci: Unity Gain
Obviously, creating a professional recording studio is a GIANT undertaking.
But I think Anthony gives some great advice in that you should try and build your studio progressively.
Make wise investments, and don't buy things that you'll just have replace later.
Start out with some basic soundproofing, get the necessary equipment you need, and then protect it with a surge protector.
From there, start to do some acoustic treatment, keeping in mind how sound will be traveling in your space.
Finish More Songs, Faster
Once you get your studio how you like it given your current funds/resources, it's time to make some music!
If you want to finish more radio-ready songs, and complete them faster without having to spend months or even weeks on end working on the same songs over and over, not even knowing if you're making them any better...
Then grab my free Rapid Song-Finishing Checklist below.
You'll discover a proven step-by-step system for completing professional-sounding songs.

Create Better Songs, Faster
Click below to download my free song-finishing checklist to help you create radio-ready songs without taking months to complete them.
This will be especially beneficial if you find yourself working on songs for hours on end only to look back and wonder if you actually made your track any better.
I hope you got value from this post on, How To Build A Professional Home Recording Studio, helpful!
If so, feel free to share it, and let me know in the comments below...

